PIN IT NOW, SAVE IT FOR LATER
WANT THE AD FREE, EASY TO PRINT DOWNLOADABLE PDF? CLICK HERE TO PURCHASE ON: RAVELRY, ETSY
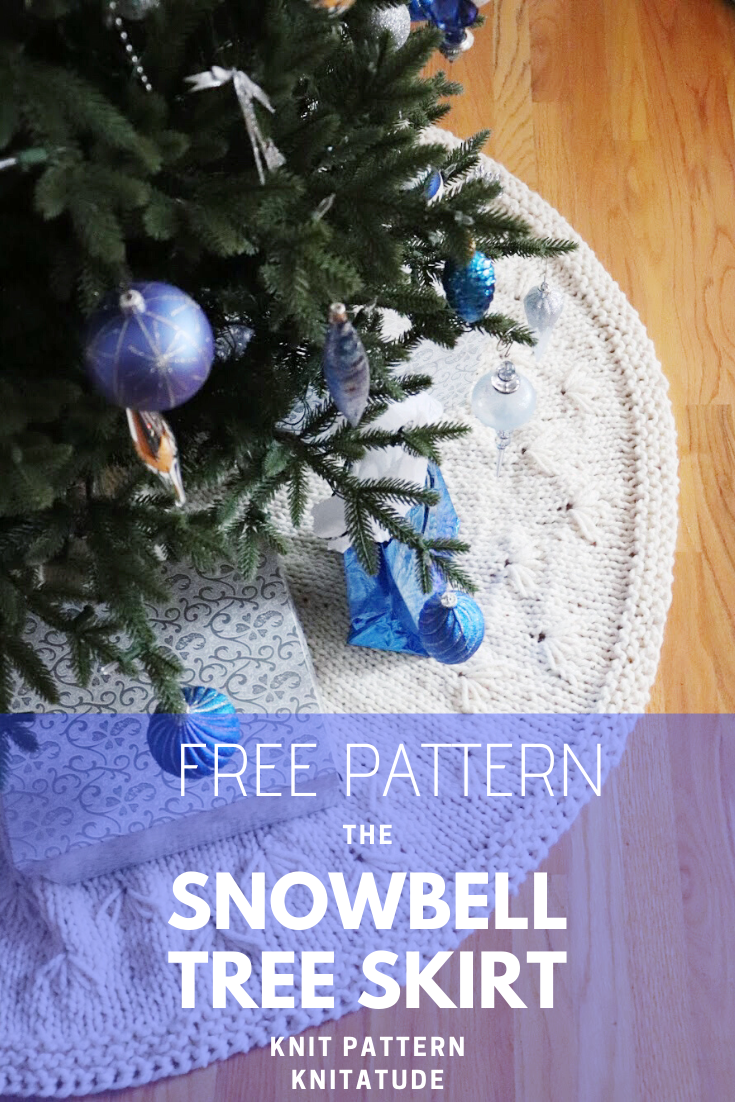
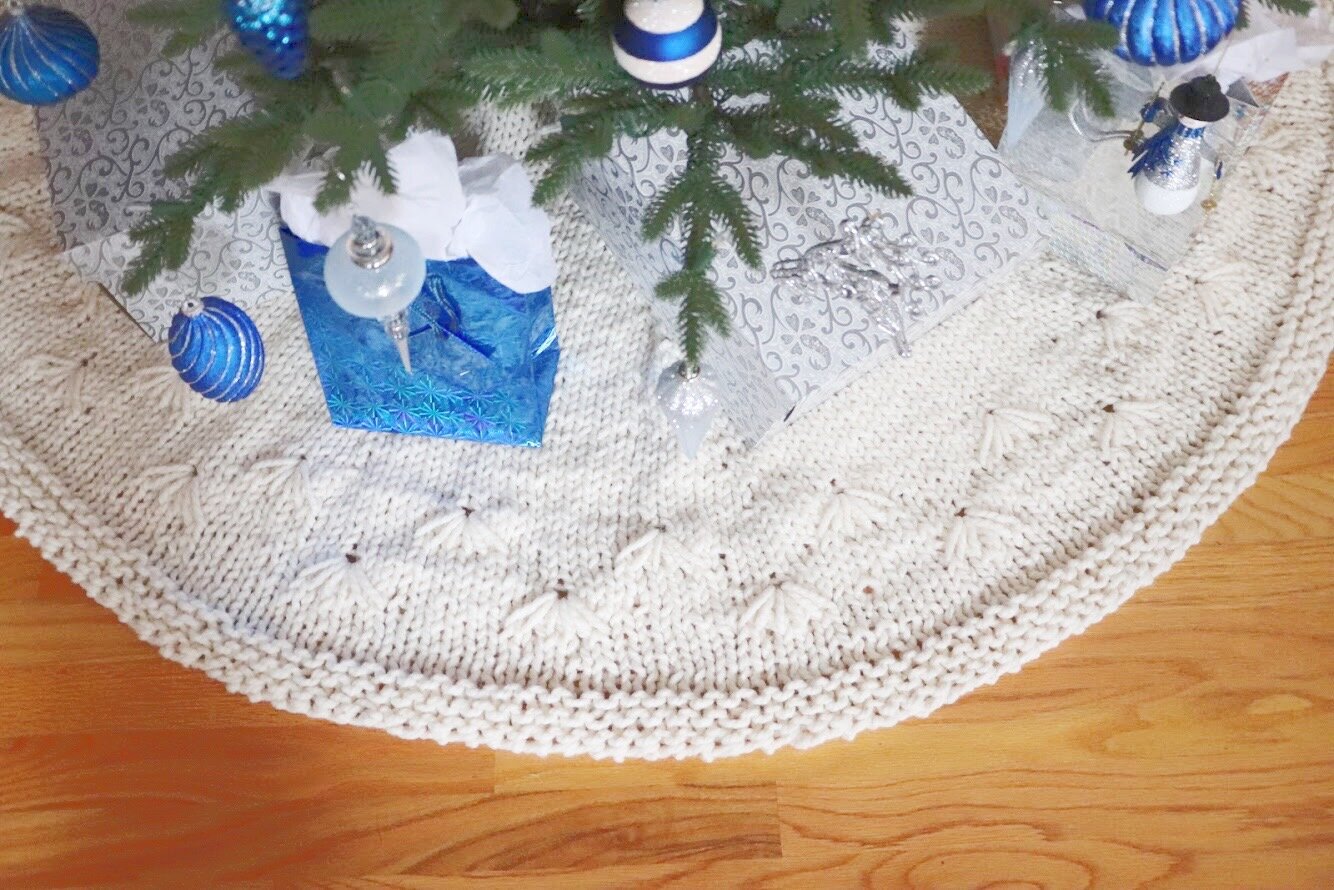
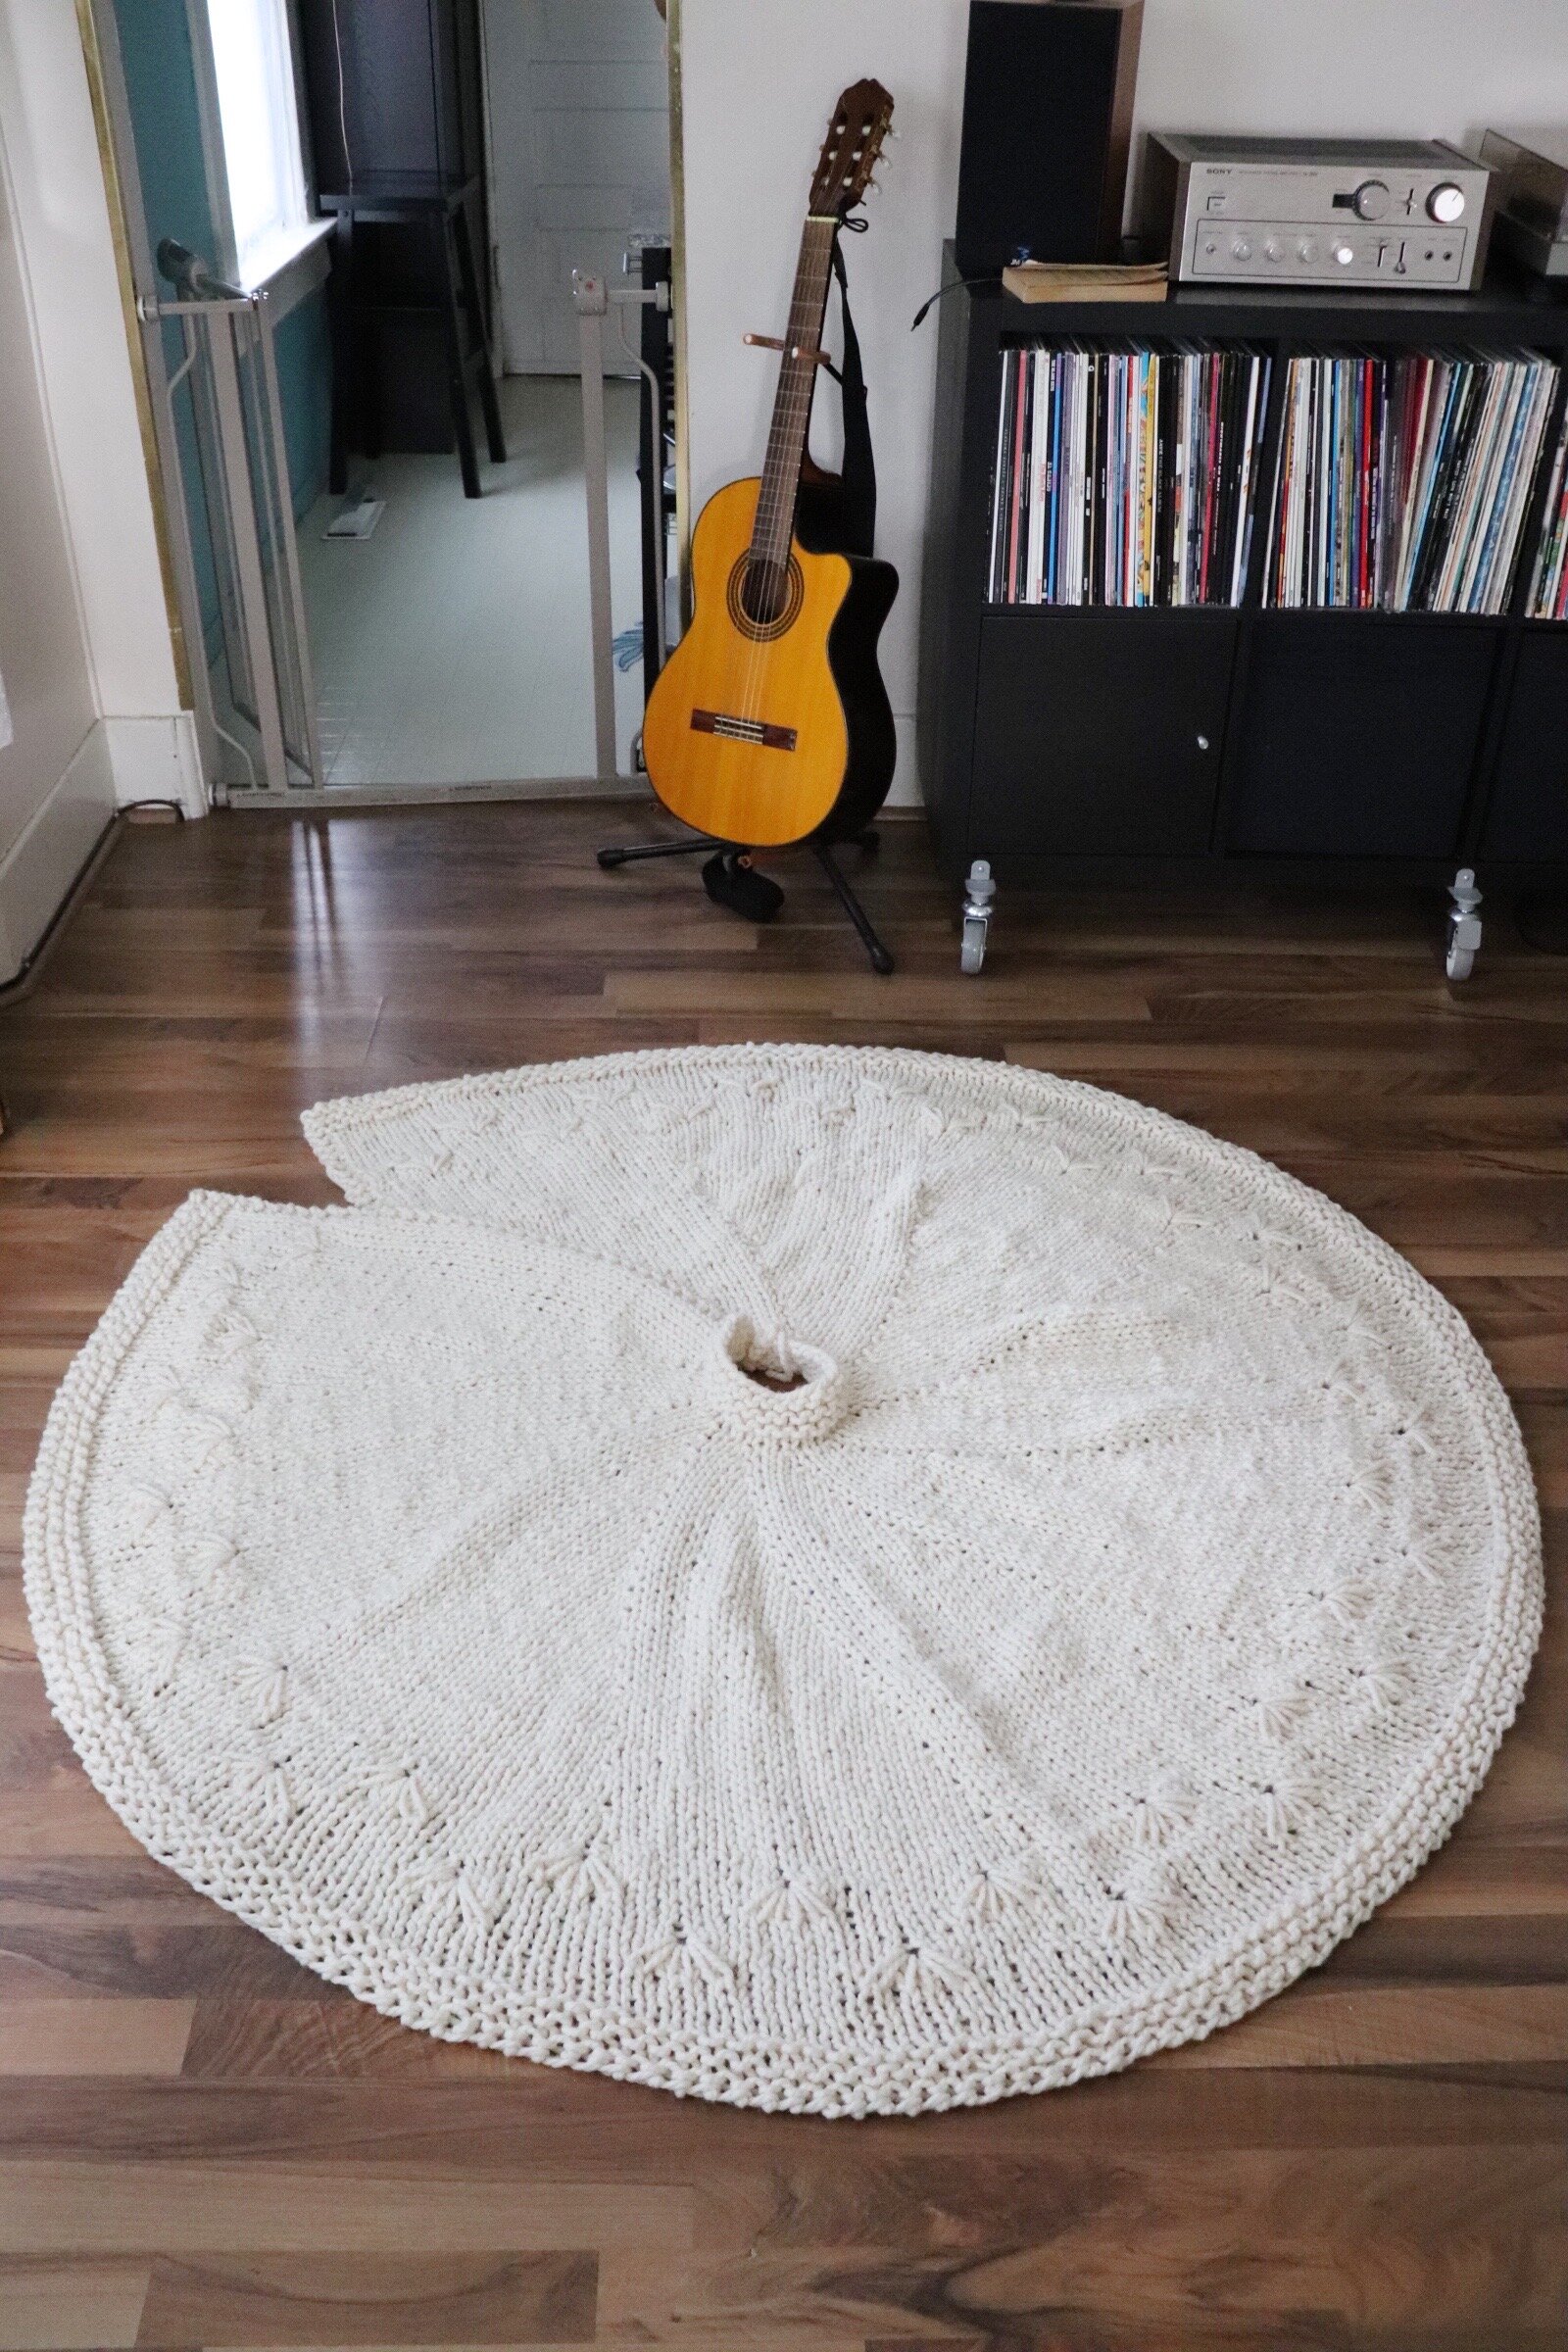
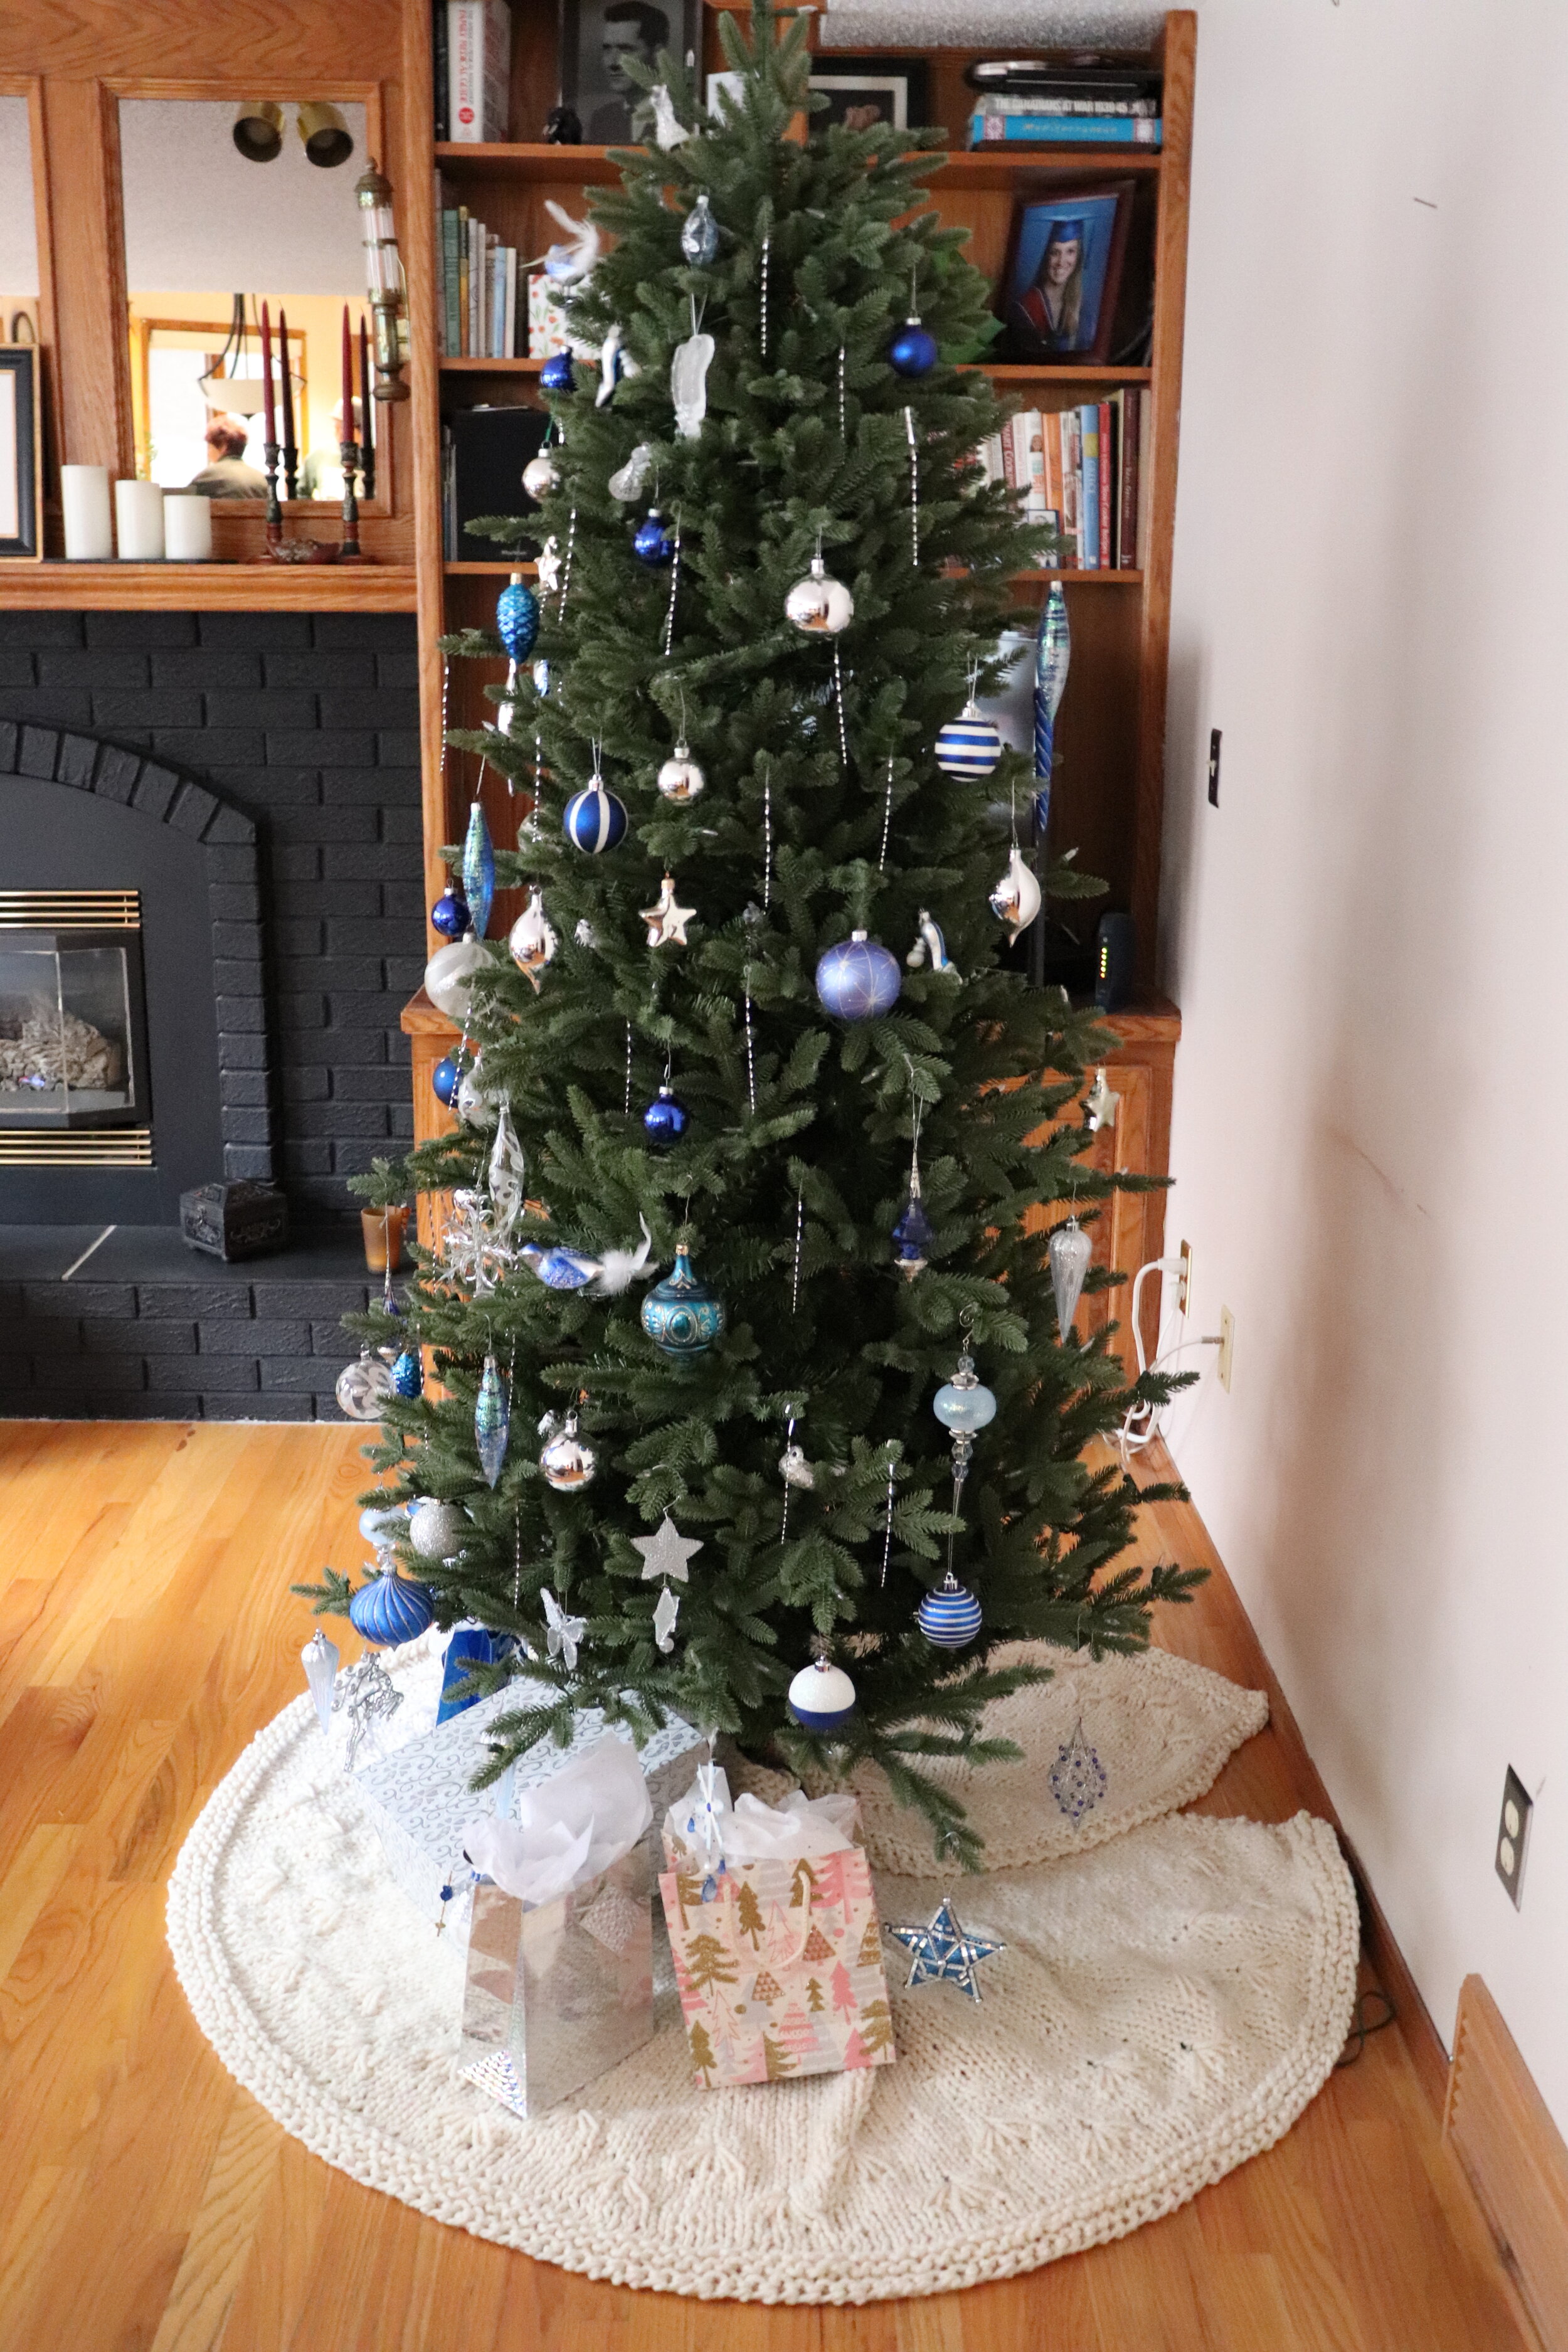
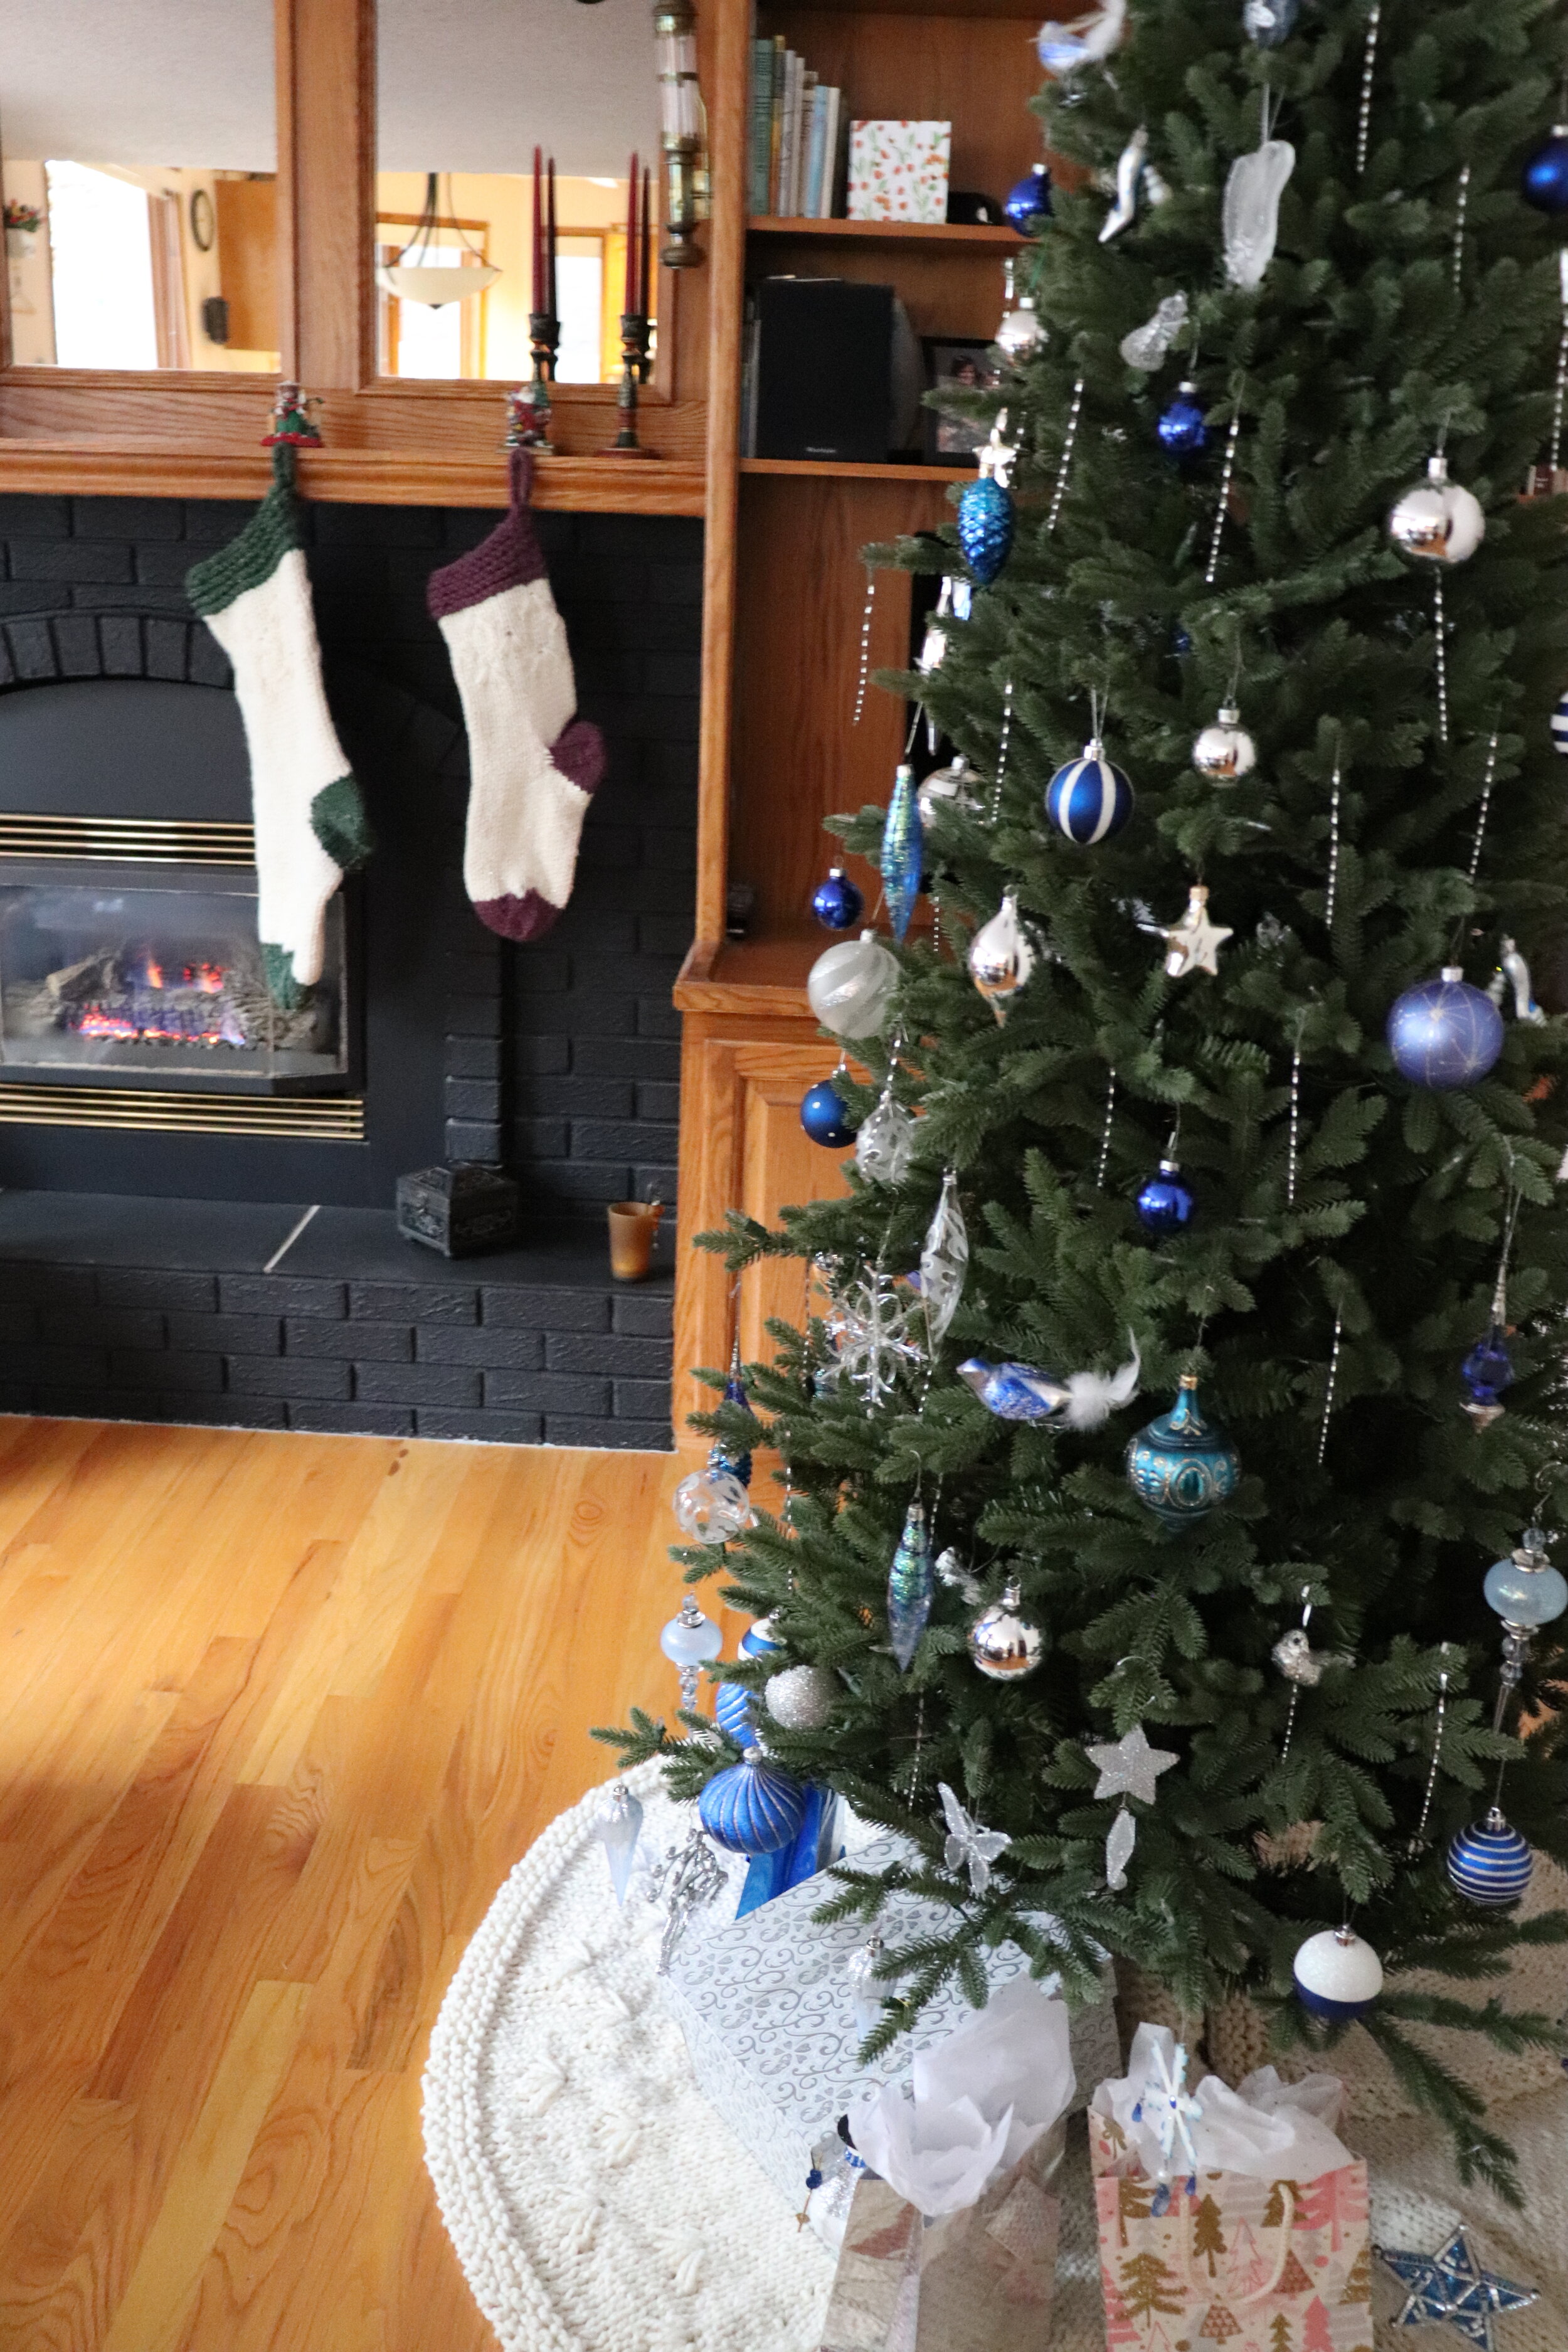
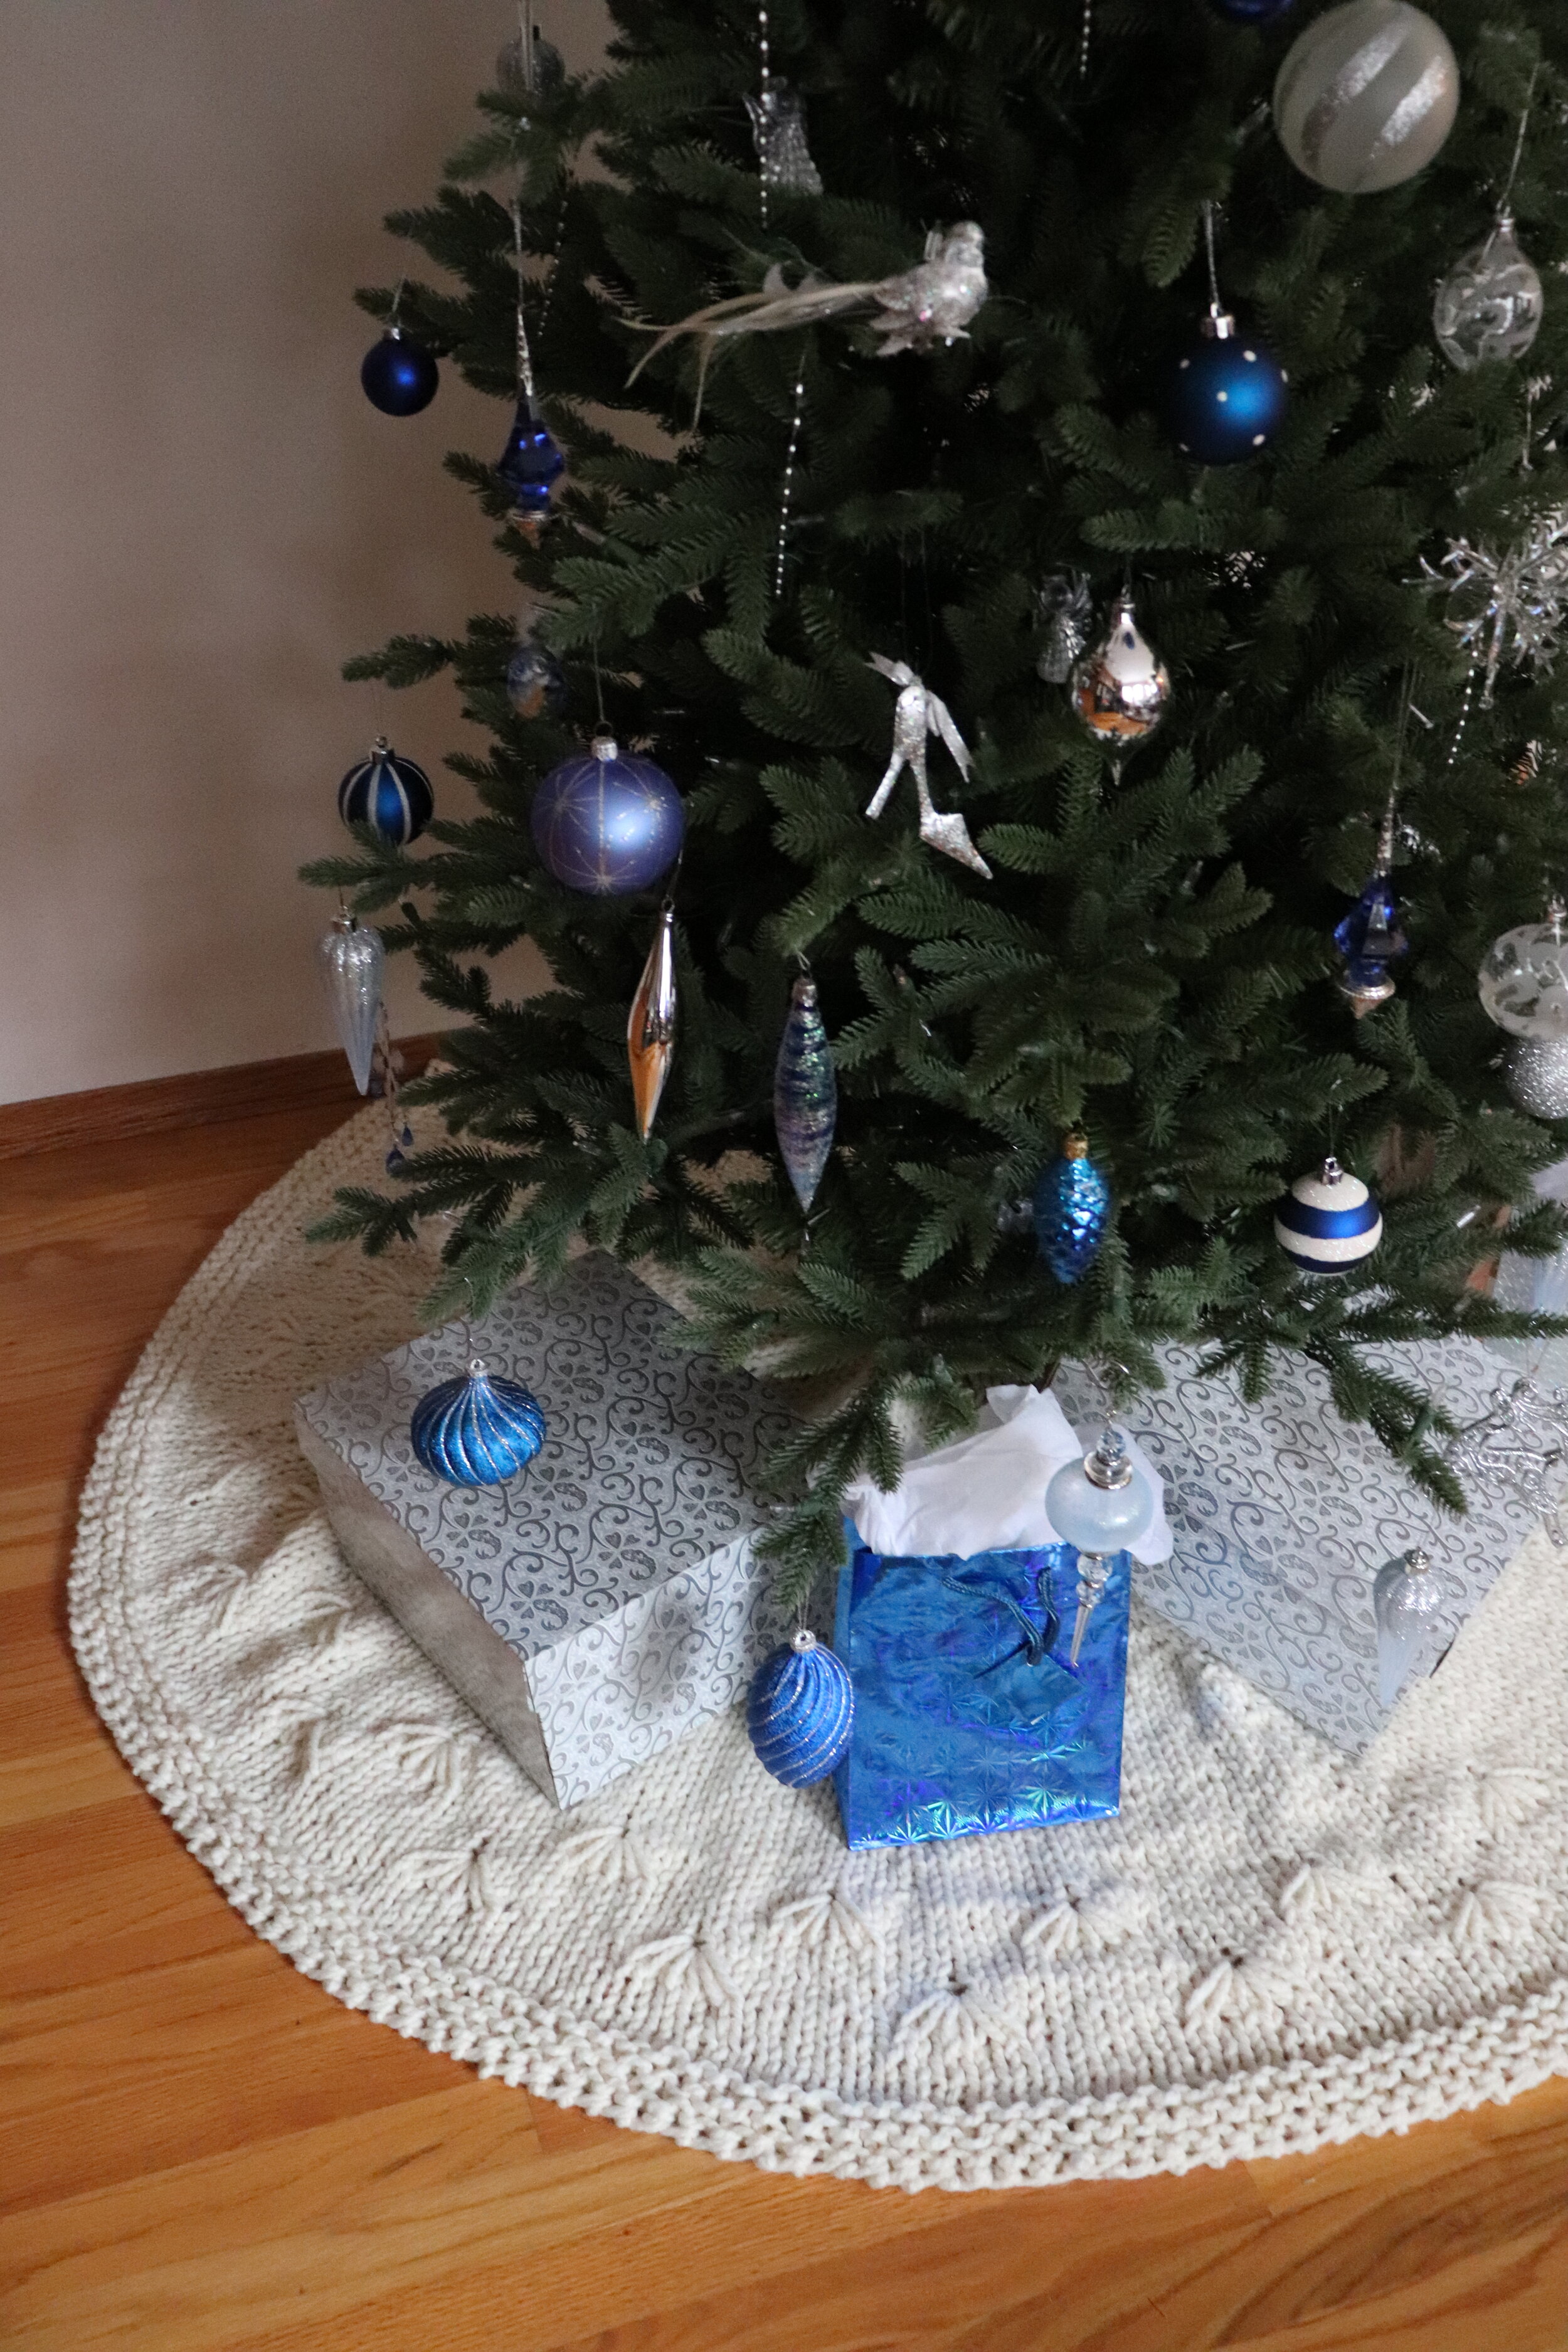
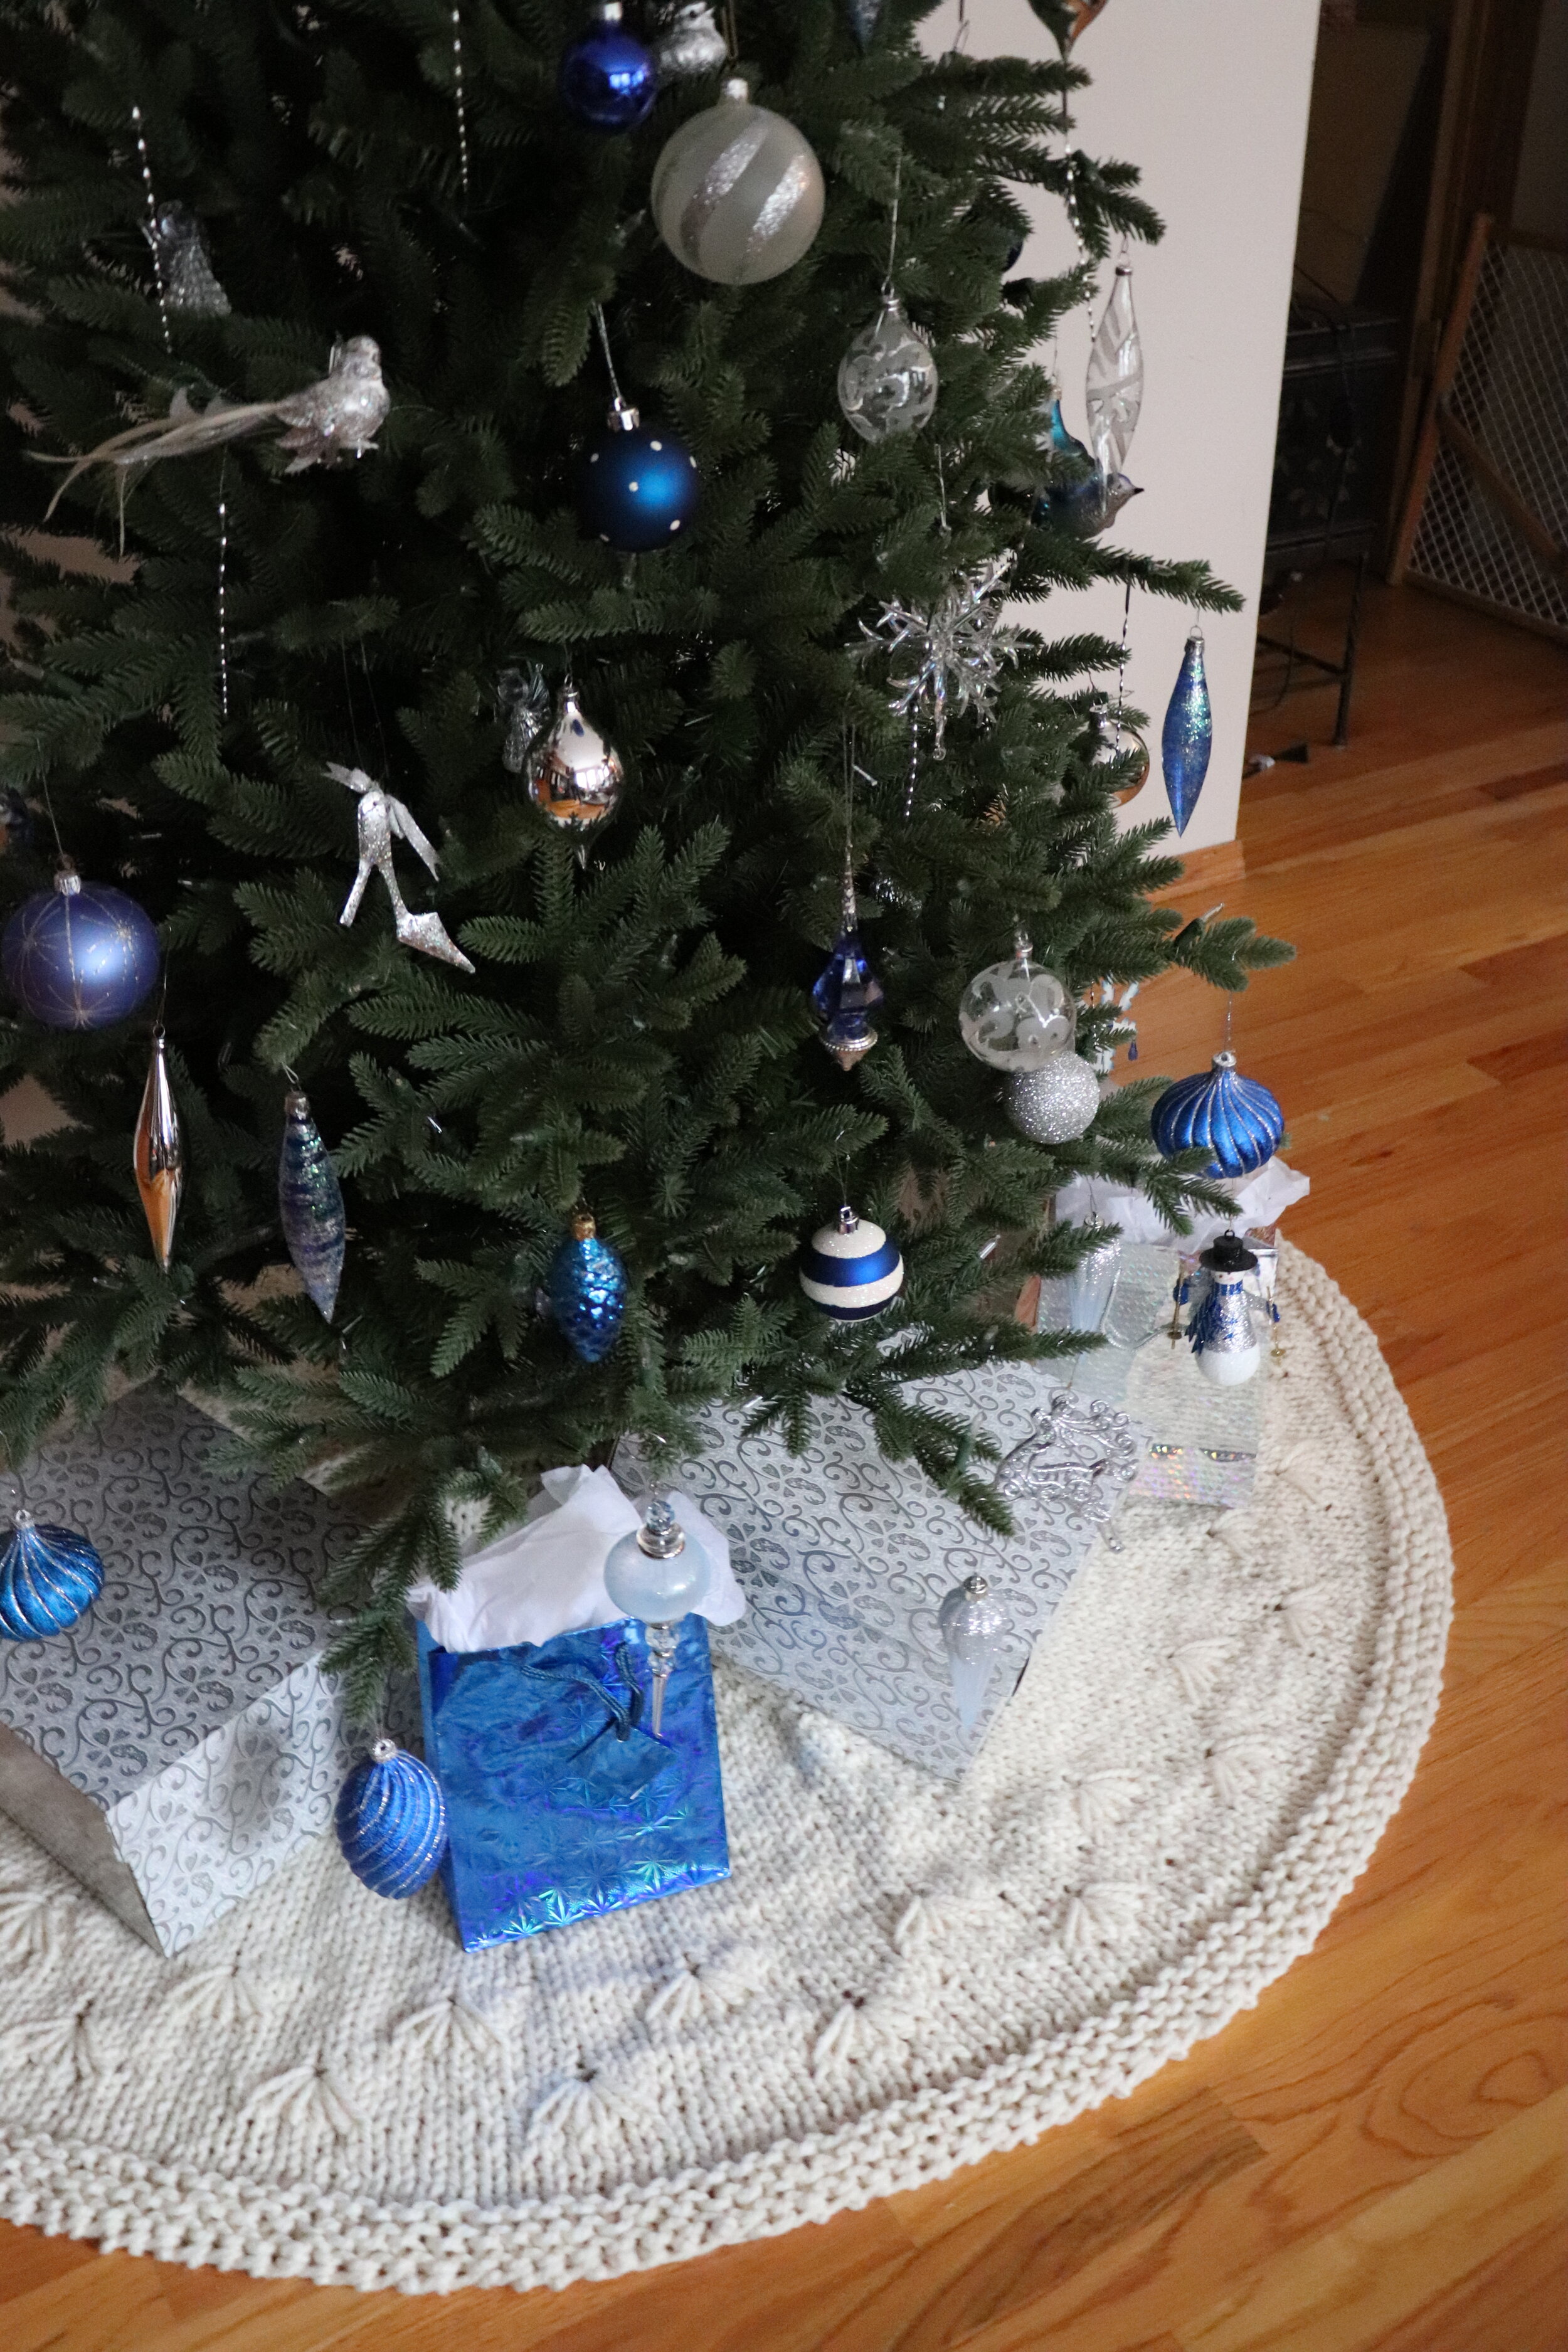
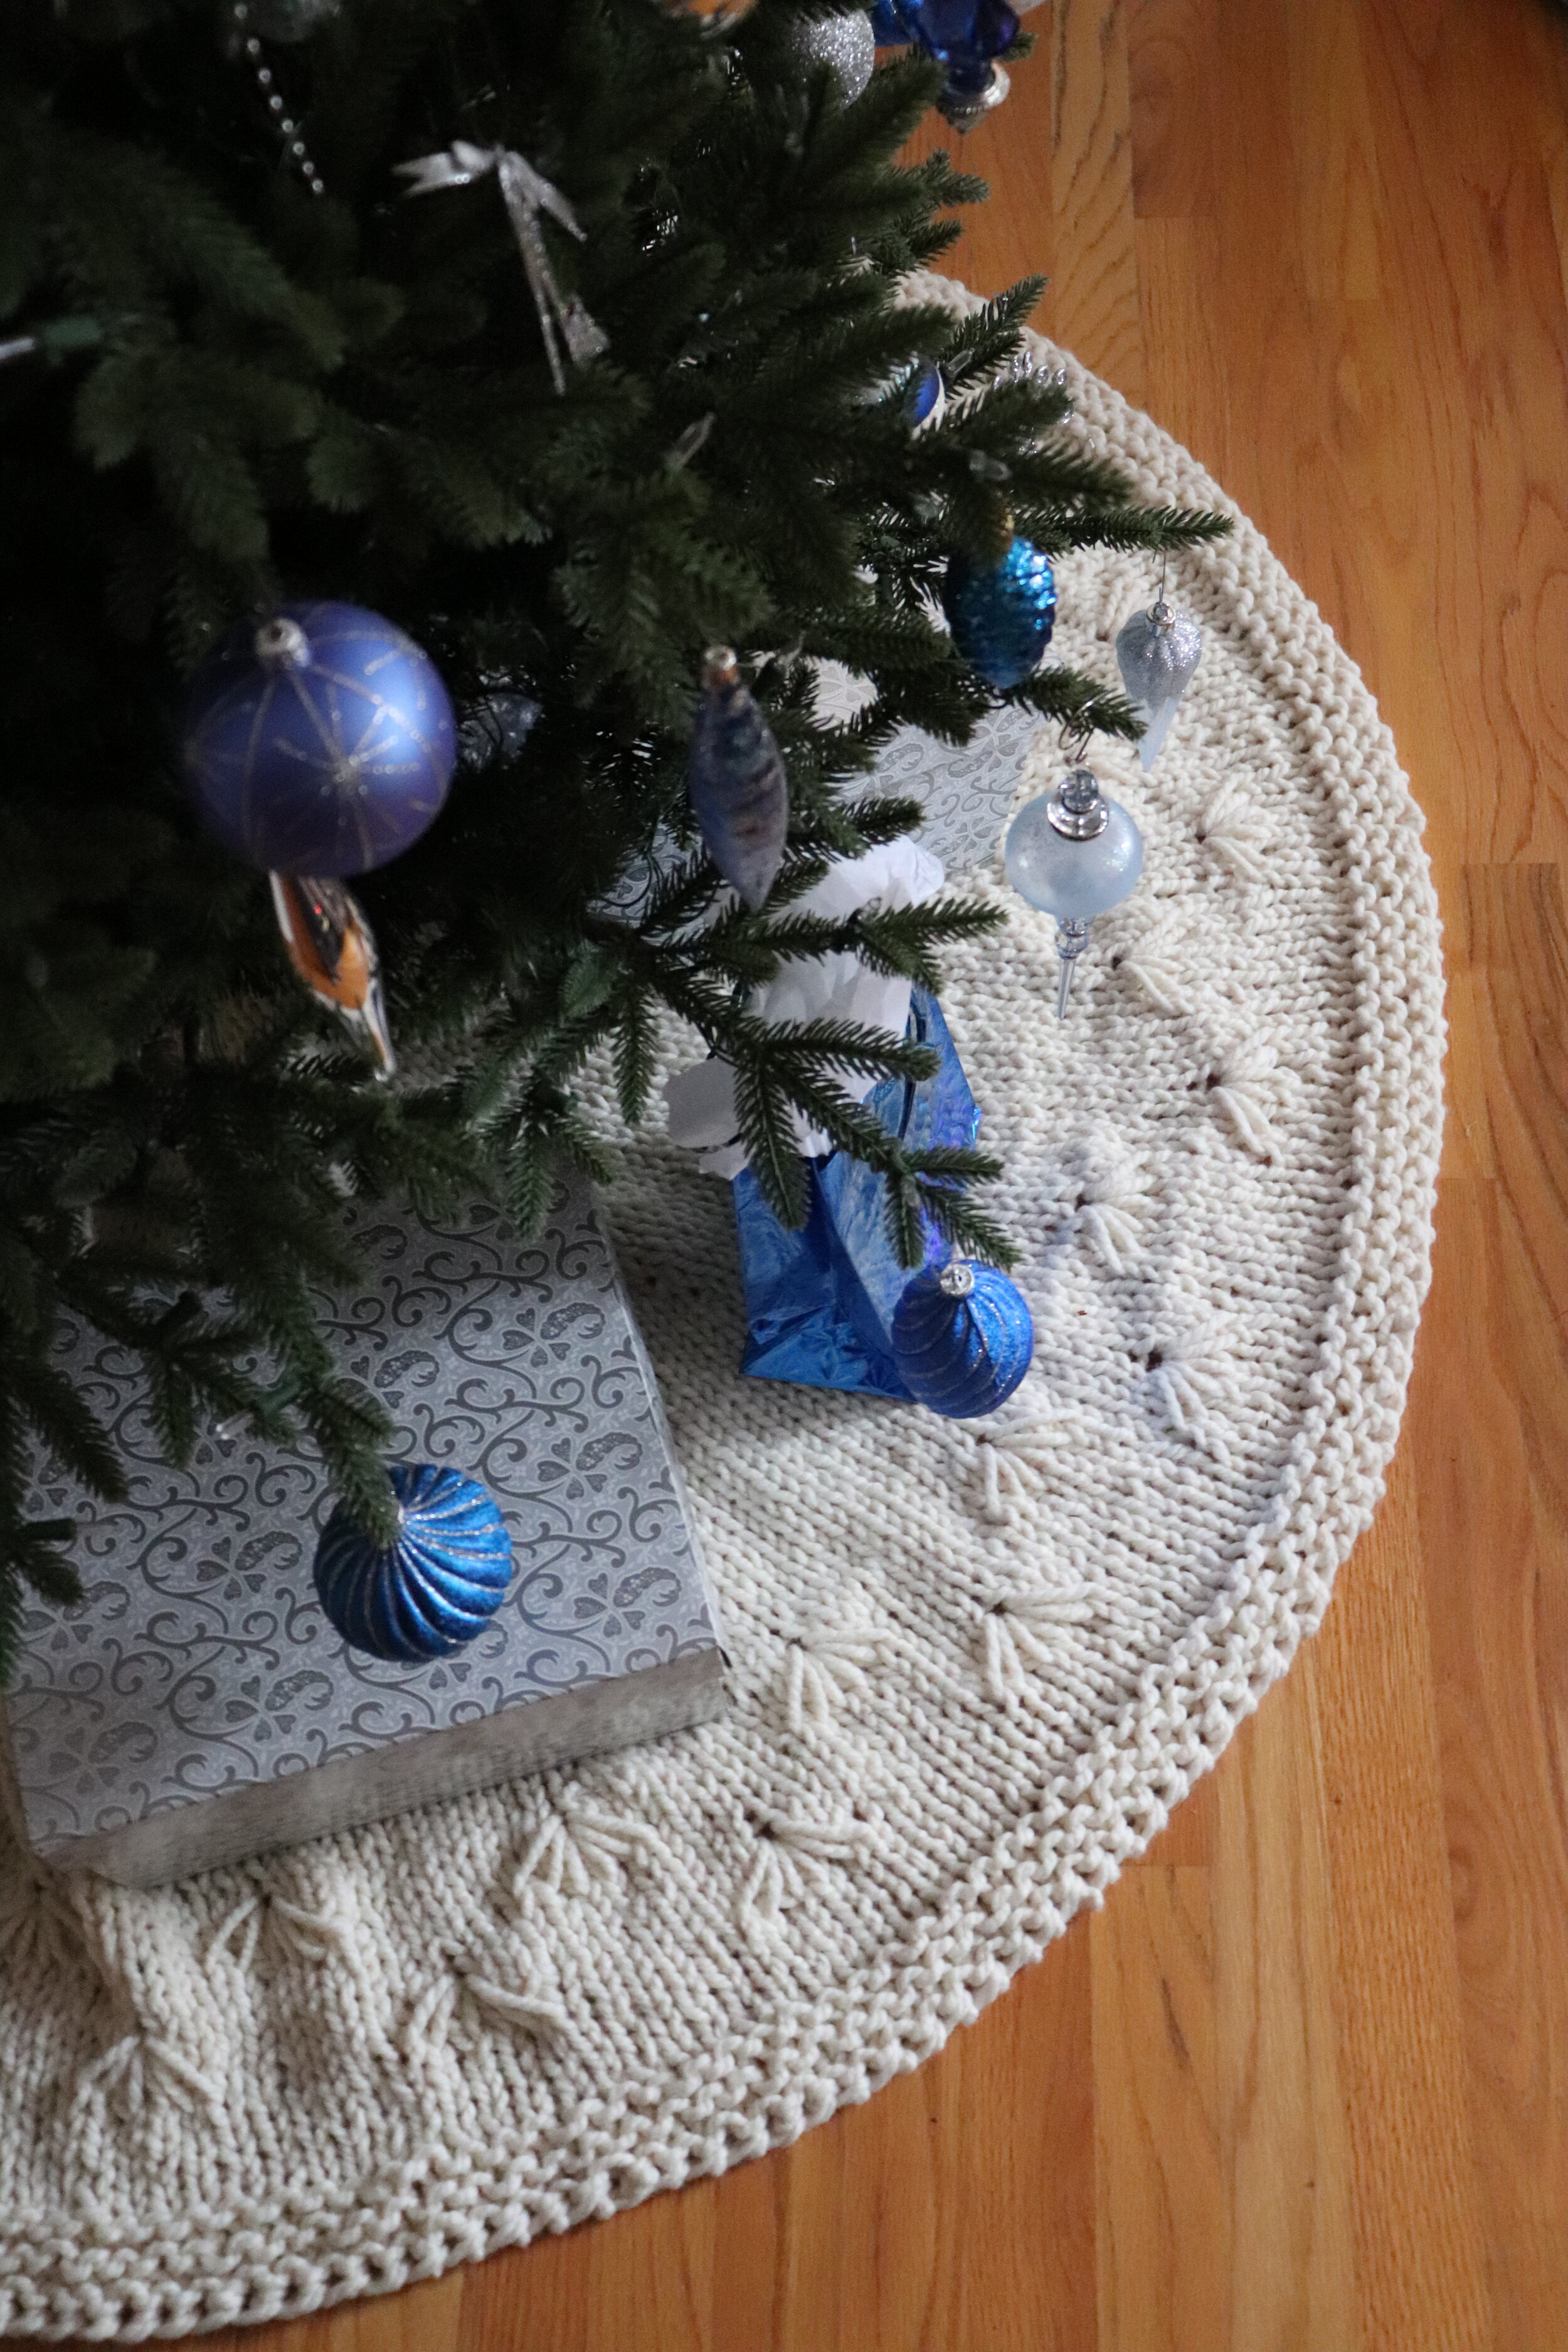
SNOWBELL HOLIDAY TREE SKIRT
Why buy a tree skirt, when you could make one? My mom has kept the same tree skirt in our family for all 30 years of my life, so I wanted to create something that my own would be able to use for decades to come. With knits making their way into every inch of my life, I knew I wanted to bring them into the holiday too.

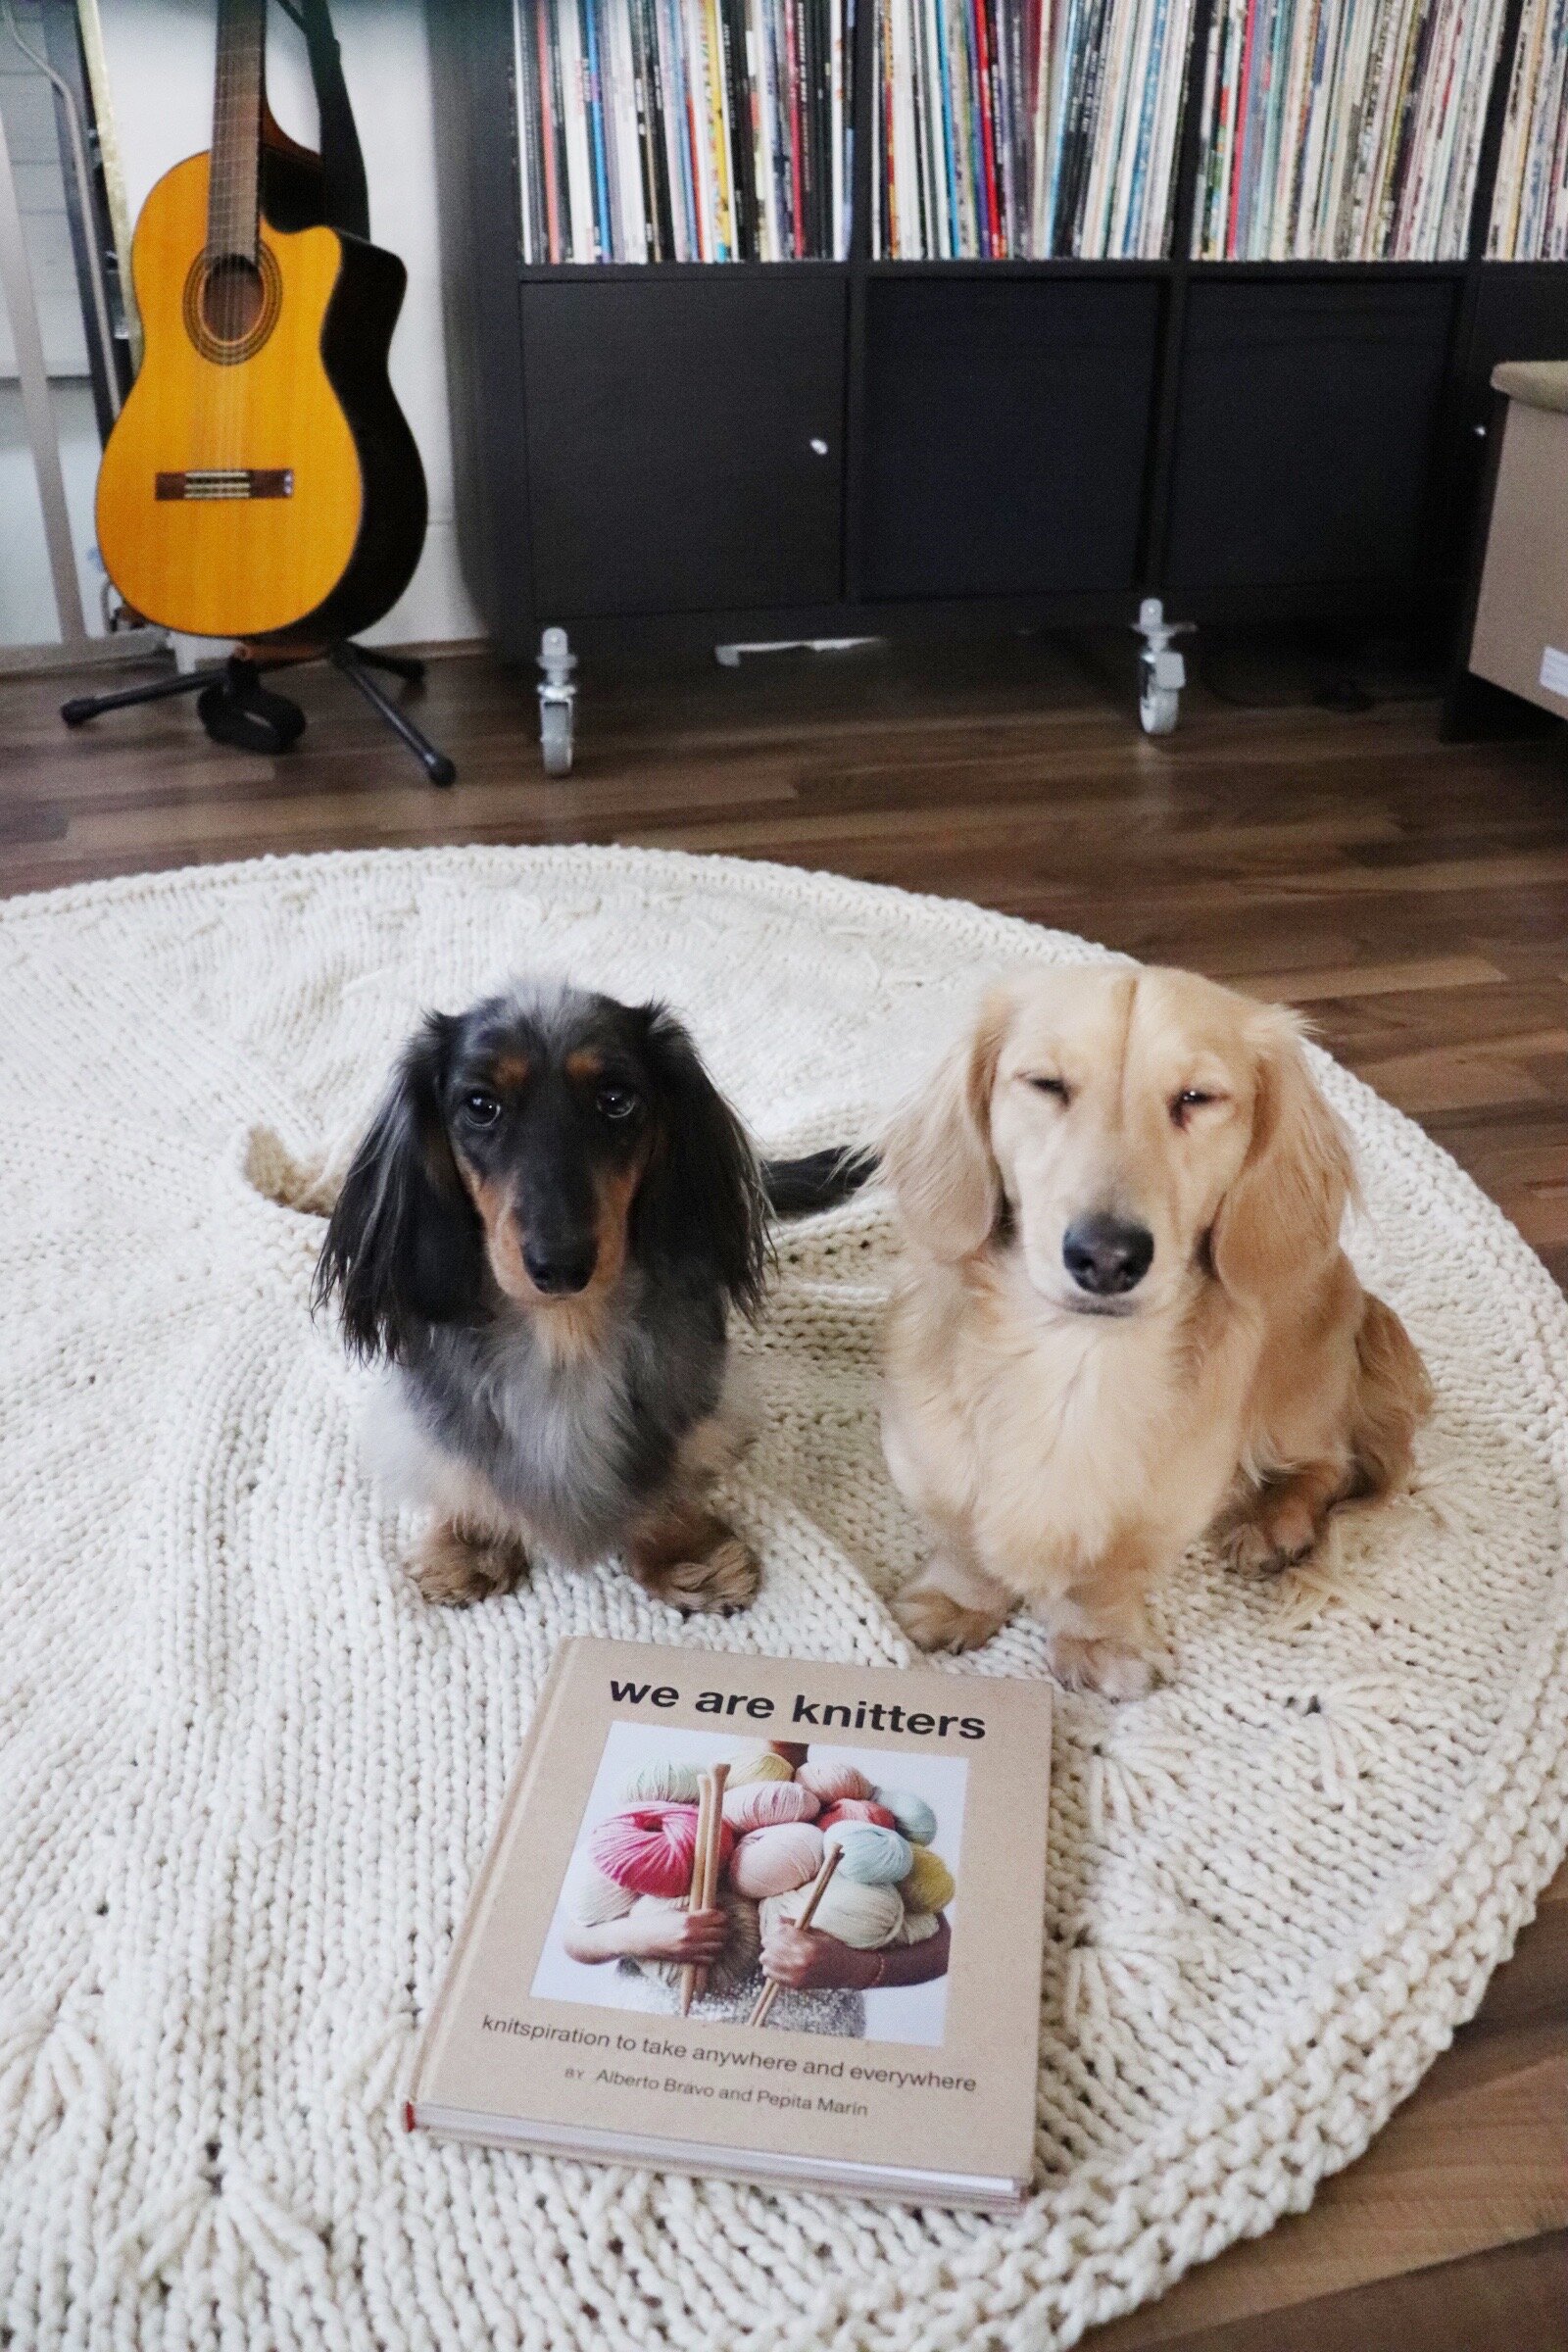
When I mentioned this to my bestie Nicole from Wool Field Studio, she graciously offered to make a matching stocking pattern! If you don’t already know, Nicole is the freaking sock queen and I knew she would crush this collab! Best part? Her pattern is ALSO free, and I’m so happy to once again team up with her. Head to her blog post to check out the Stocking pattern that has not one, not two, but THREE sizes available! You can check out her blog post HERE. & Check out our previous collab on the You Made that Hat and Moonstone mittens a year back HERE.
When we were thinking up names, Nicole mentioned the “Snowbell” flower, which is so accurate it hurts. It fits the daisy stitch perfectly for this pattern, so we ran with it! So without further adieu; The Snowbell Holiday tree Skirt!
MATERIALS YOU WILL NEED:
•Size US 19/15mm circular needles, 40”/100 cm long
•Scissors
•Darning needle
GAUGE
Knit in stockinette flat on size
US 19/15mm needles
7 sts x 9 rows = 4”
DIMENSIONS
Radius: 31”/ 79cm
Diameter: 62”/ 158cm
Circumference: 195”/ 495cm

GLOSSARY
CO = Cast On
K = Knit
P = Purl
KFB = Knit Front Back
RS = Right Side
ST(S) = Stitch(es)
Flower = Flower Stitch
P2tog = Purl 2 Together
K2tog = Knit 2 Together
BO = Bind Off
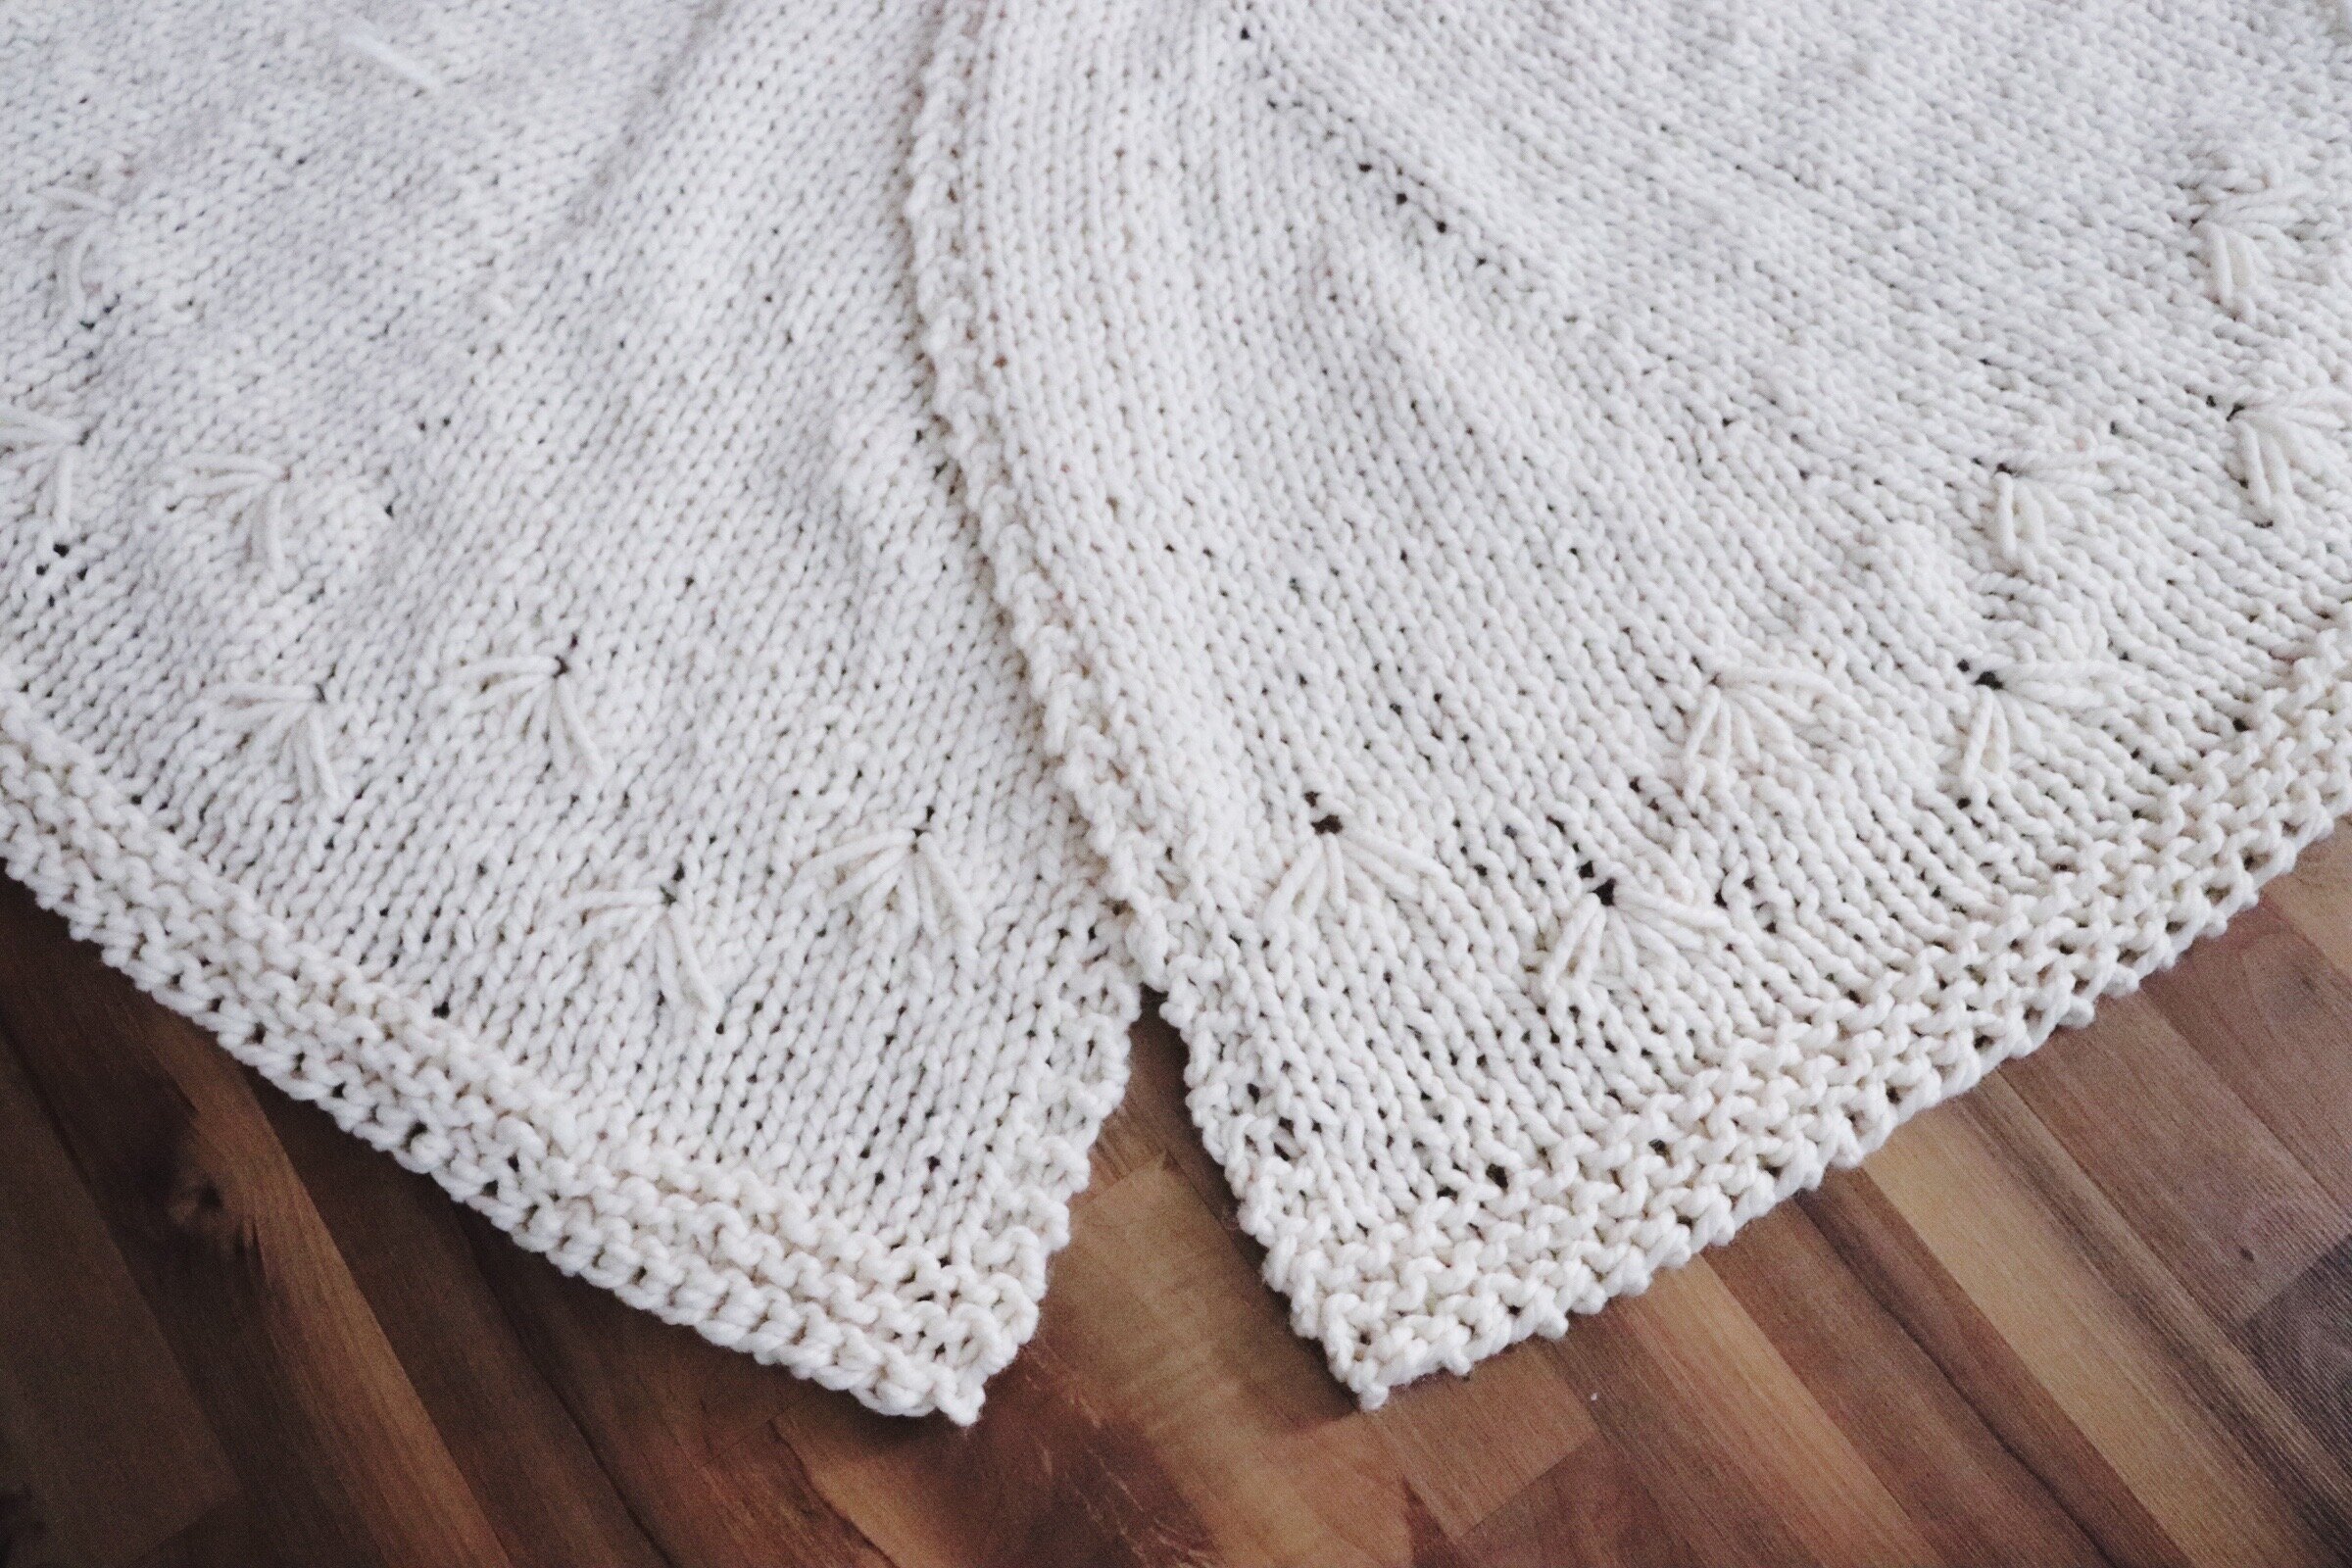

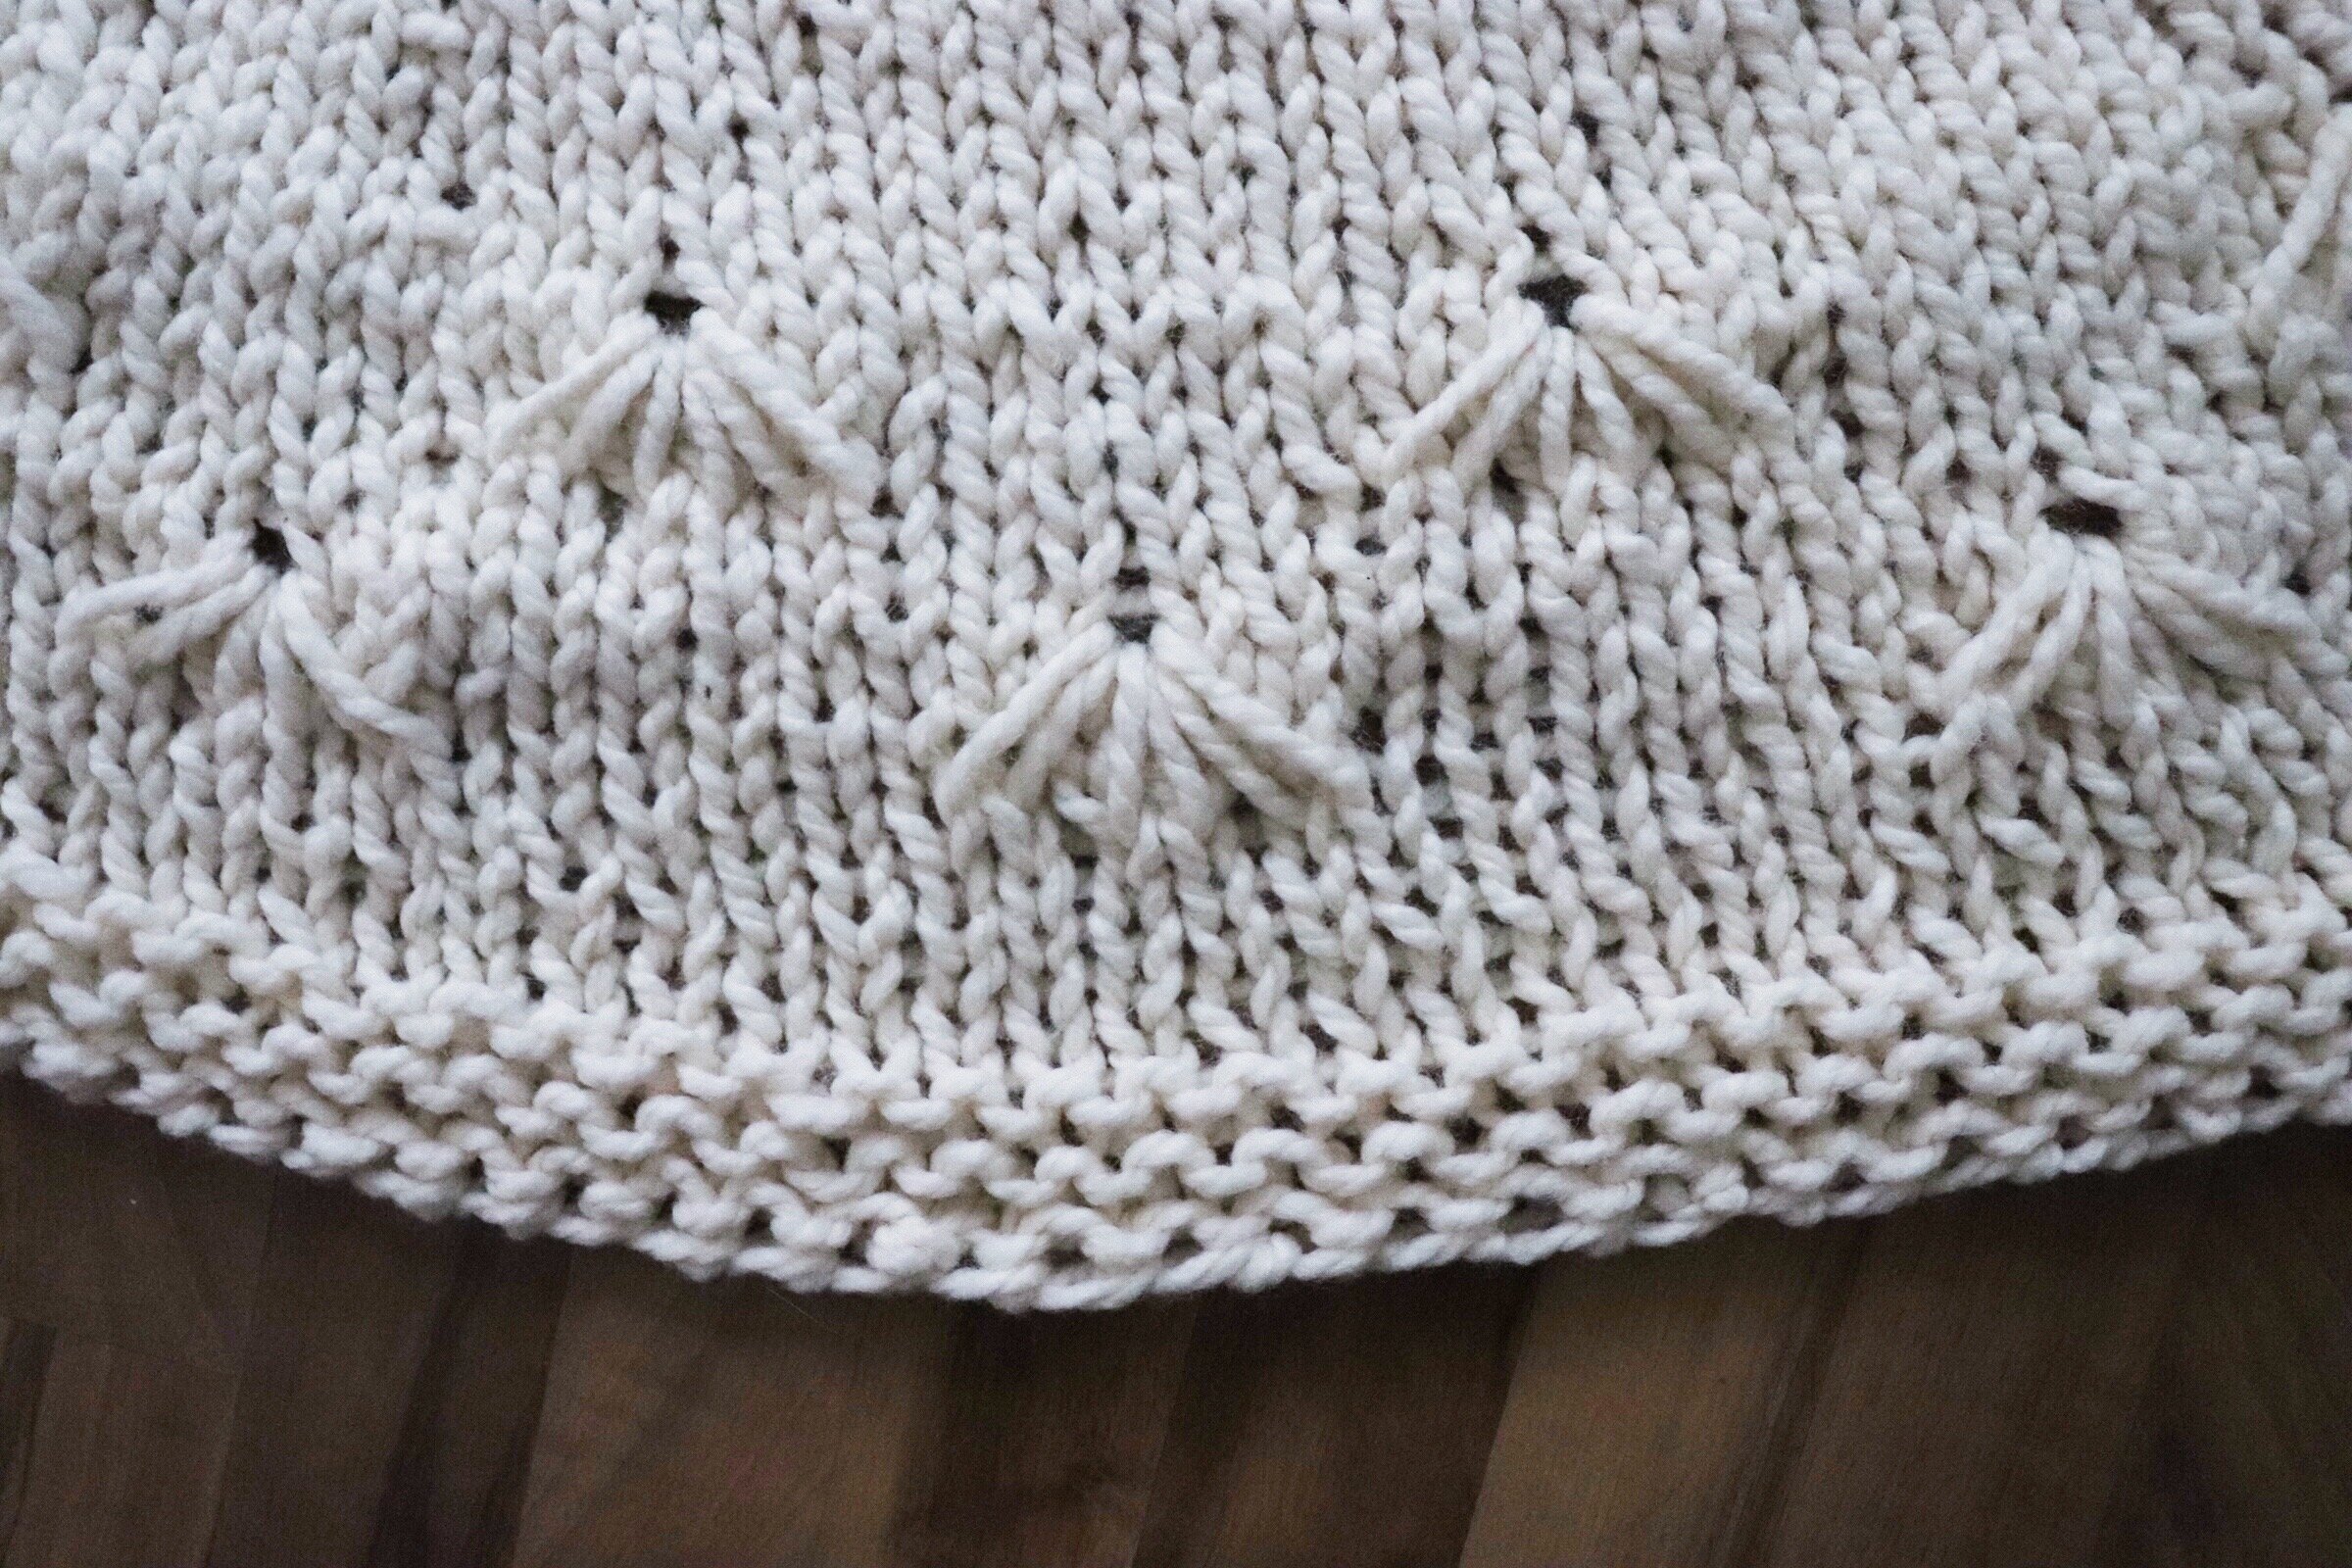
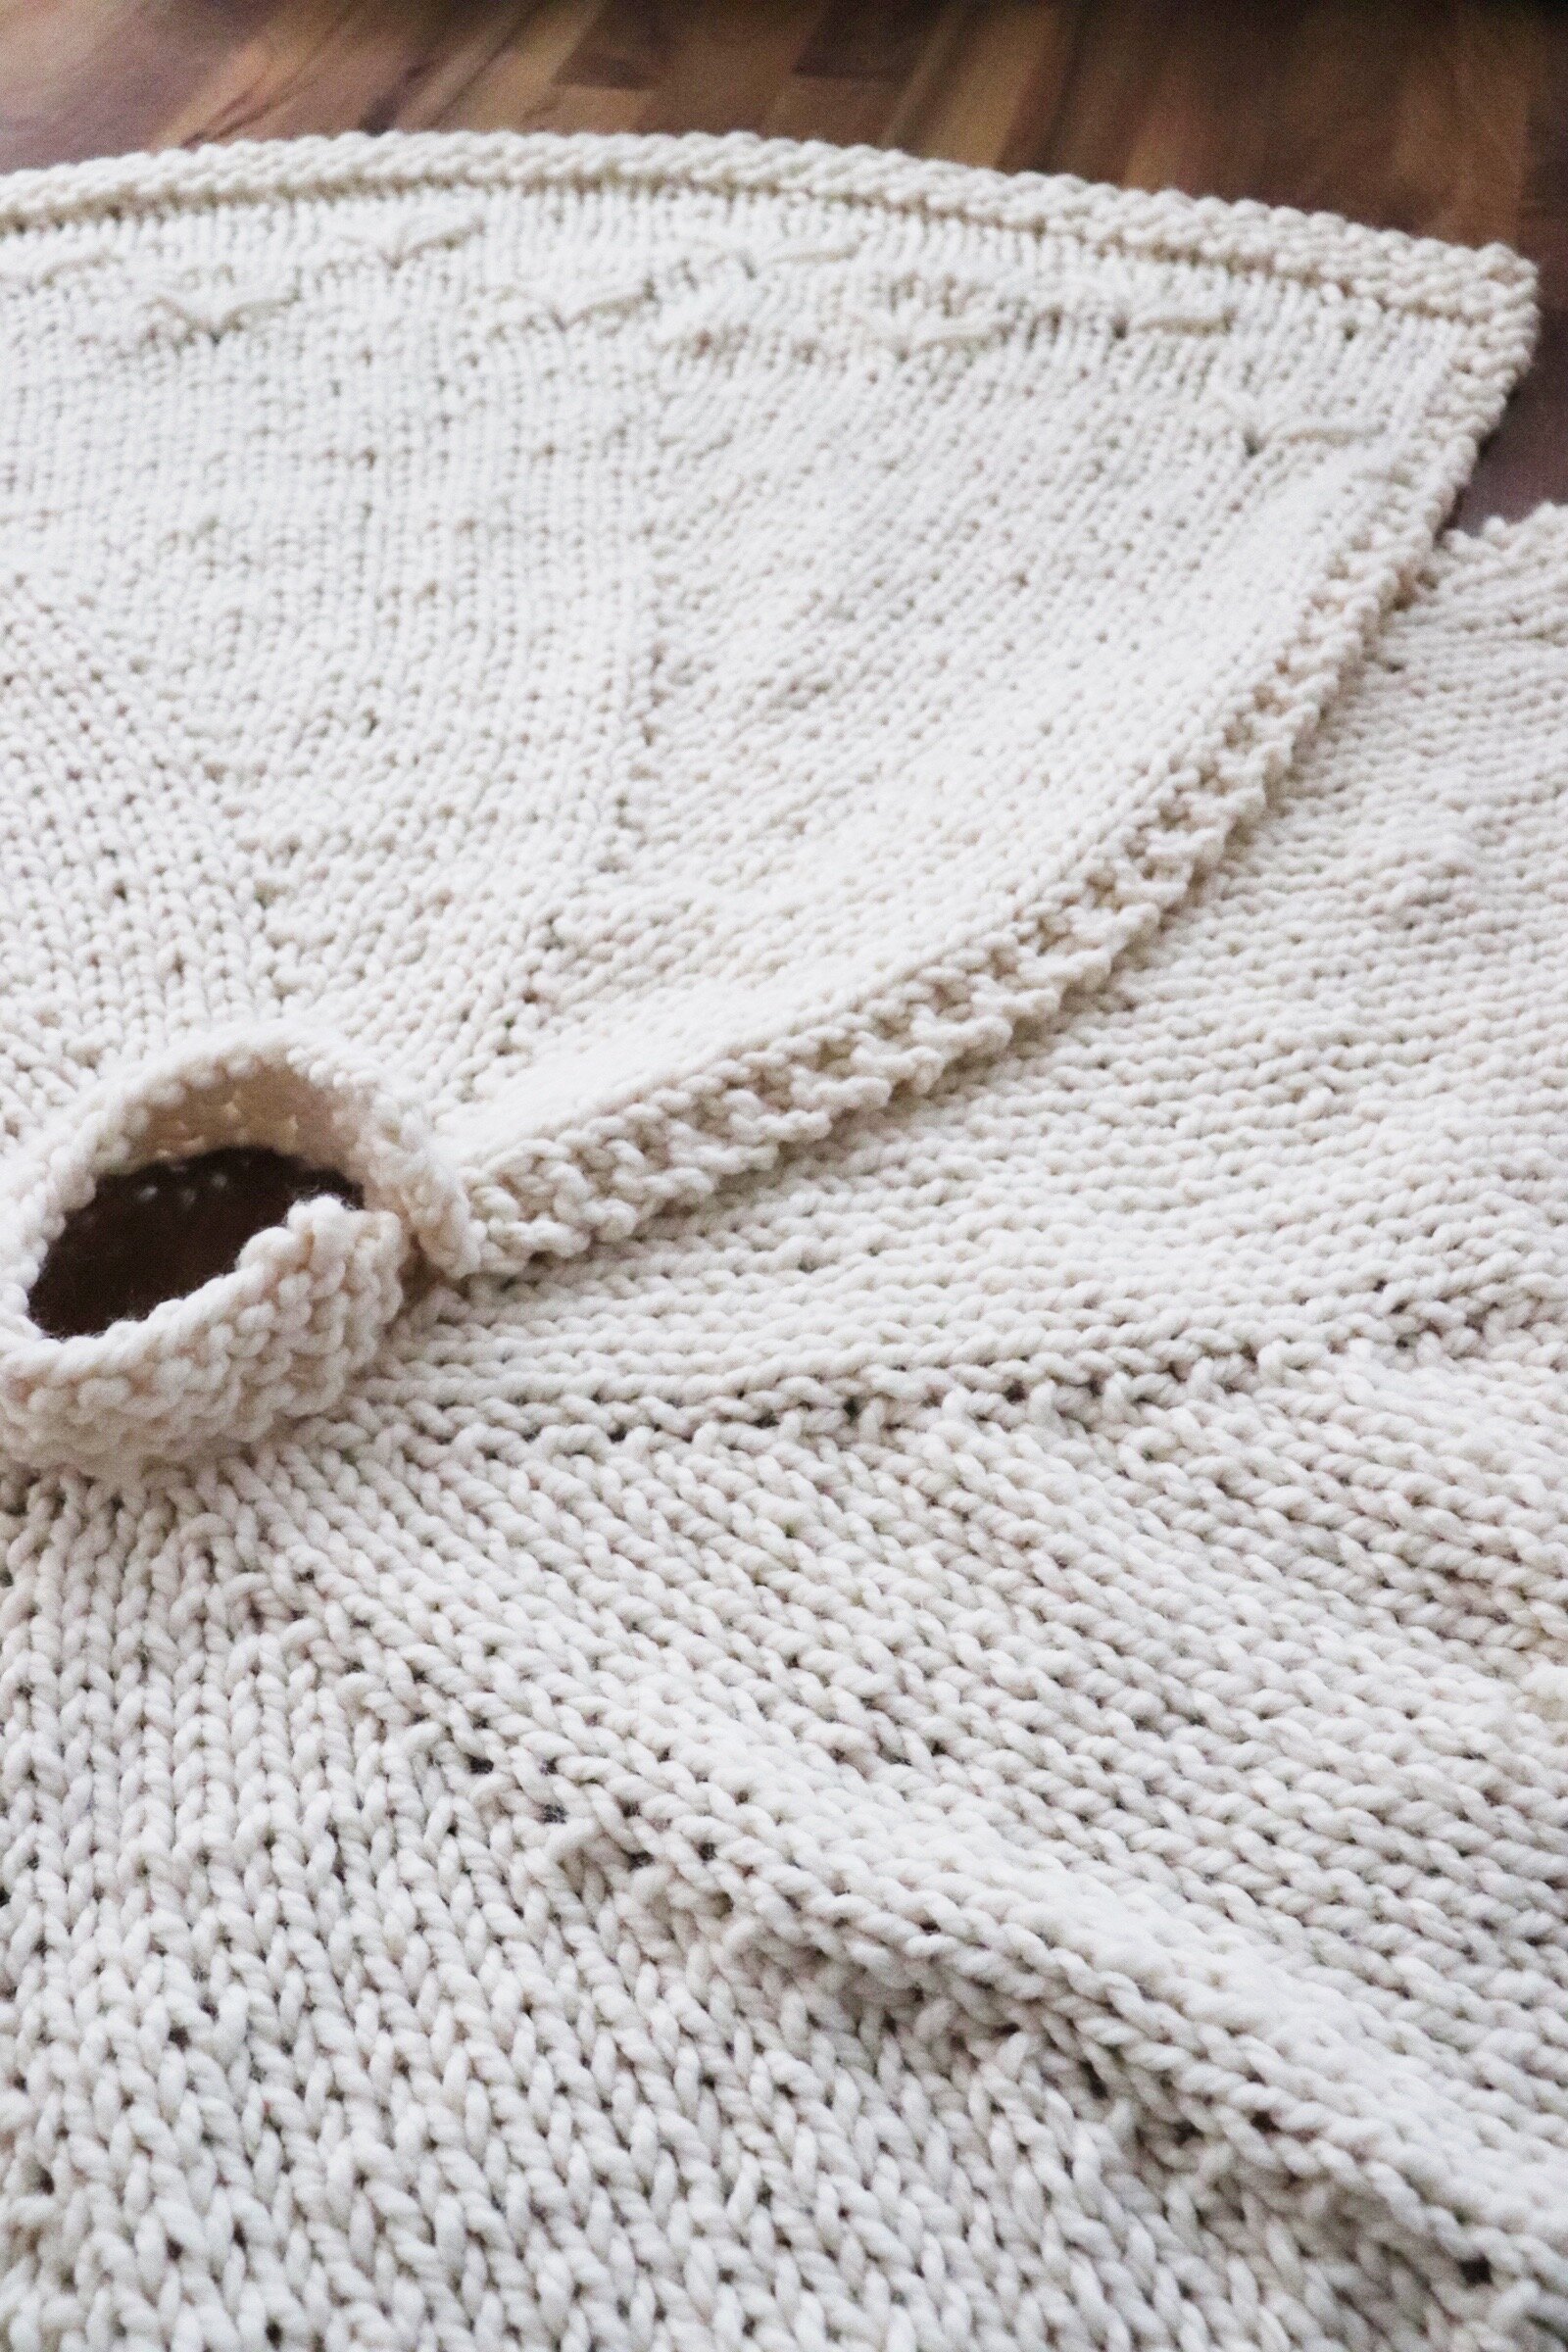
DAISY STITCH
Flower stitch – Count 2 stitches over and 3 stitches down. Insert your right hand needle into this space and wrap as you would a normal stitch. Draw this loop back through the hole /stitch you just went through and leave it on the right needle. Tug to make sure it is loose. Knit 2 sts. Make a 2nd loop into the same stitch. Knit 2 stitches. Make a third loop into the same stitch. Remember to keep those loops loose so they lay flat.
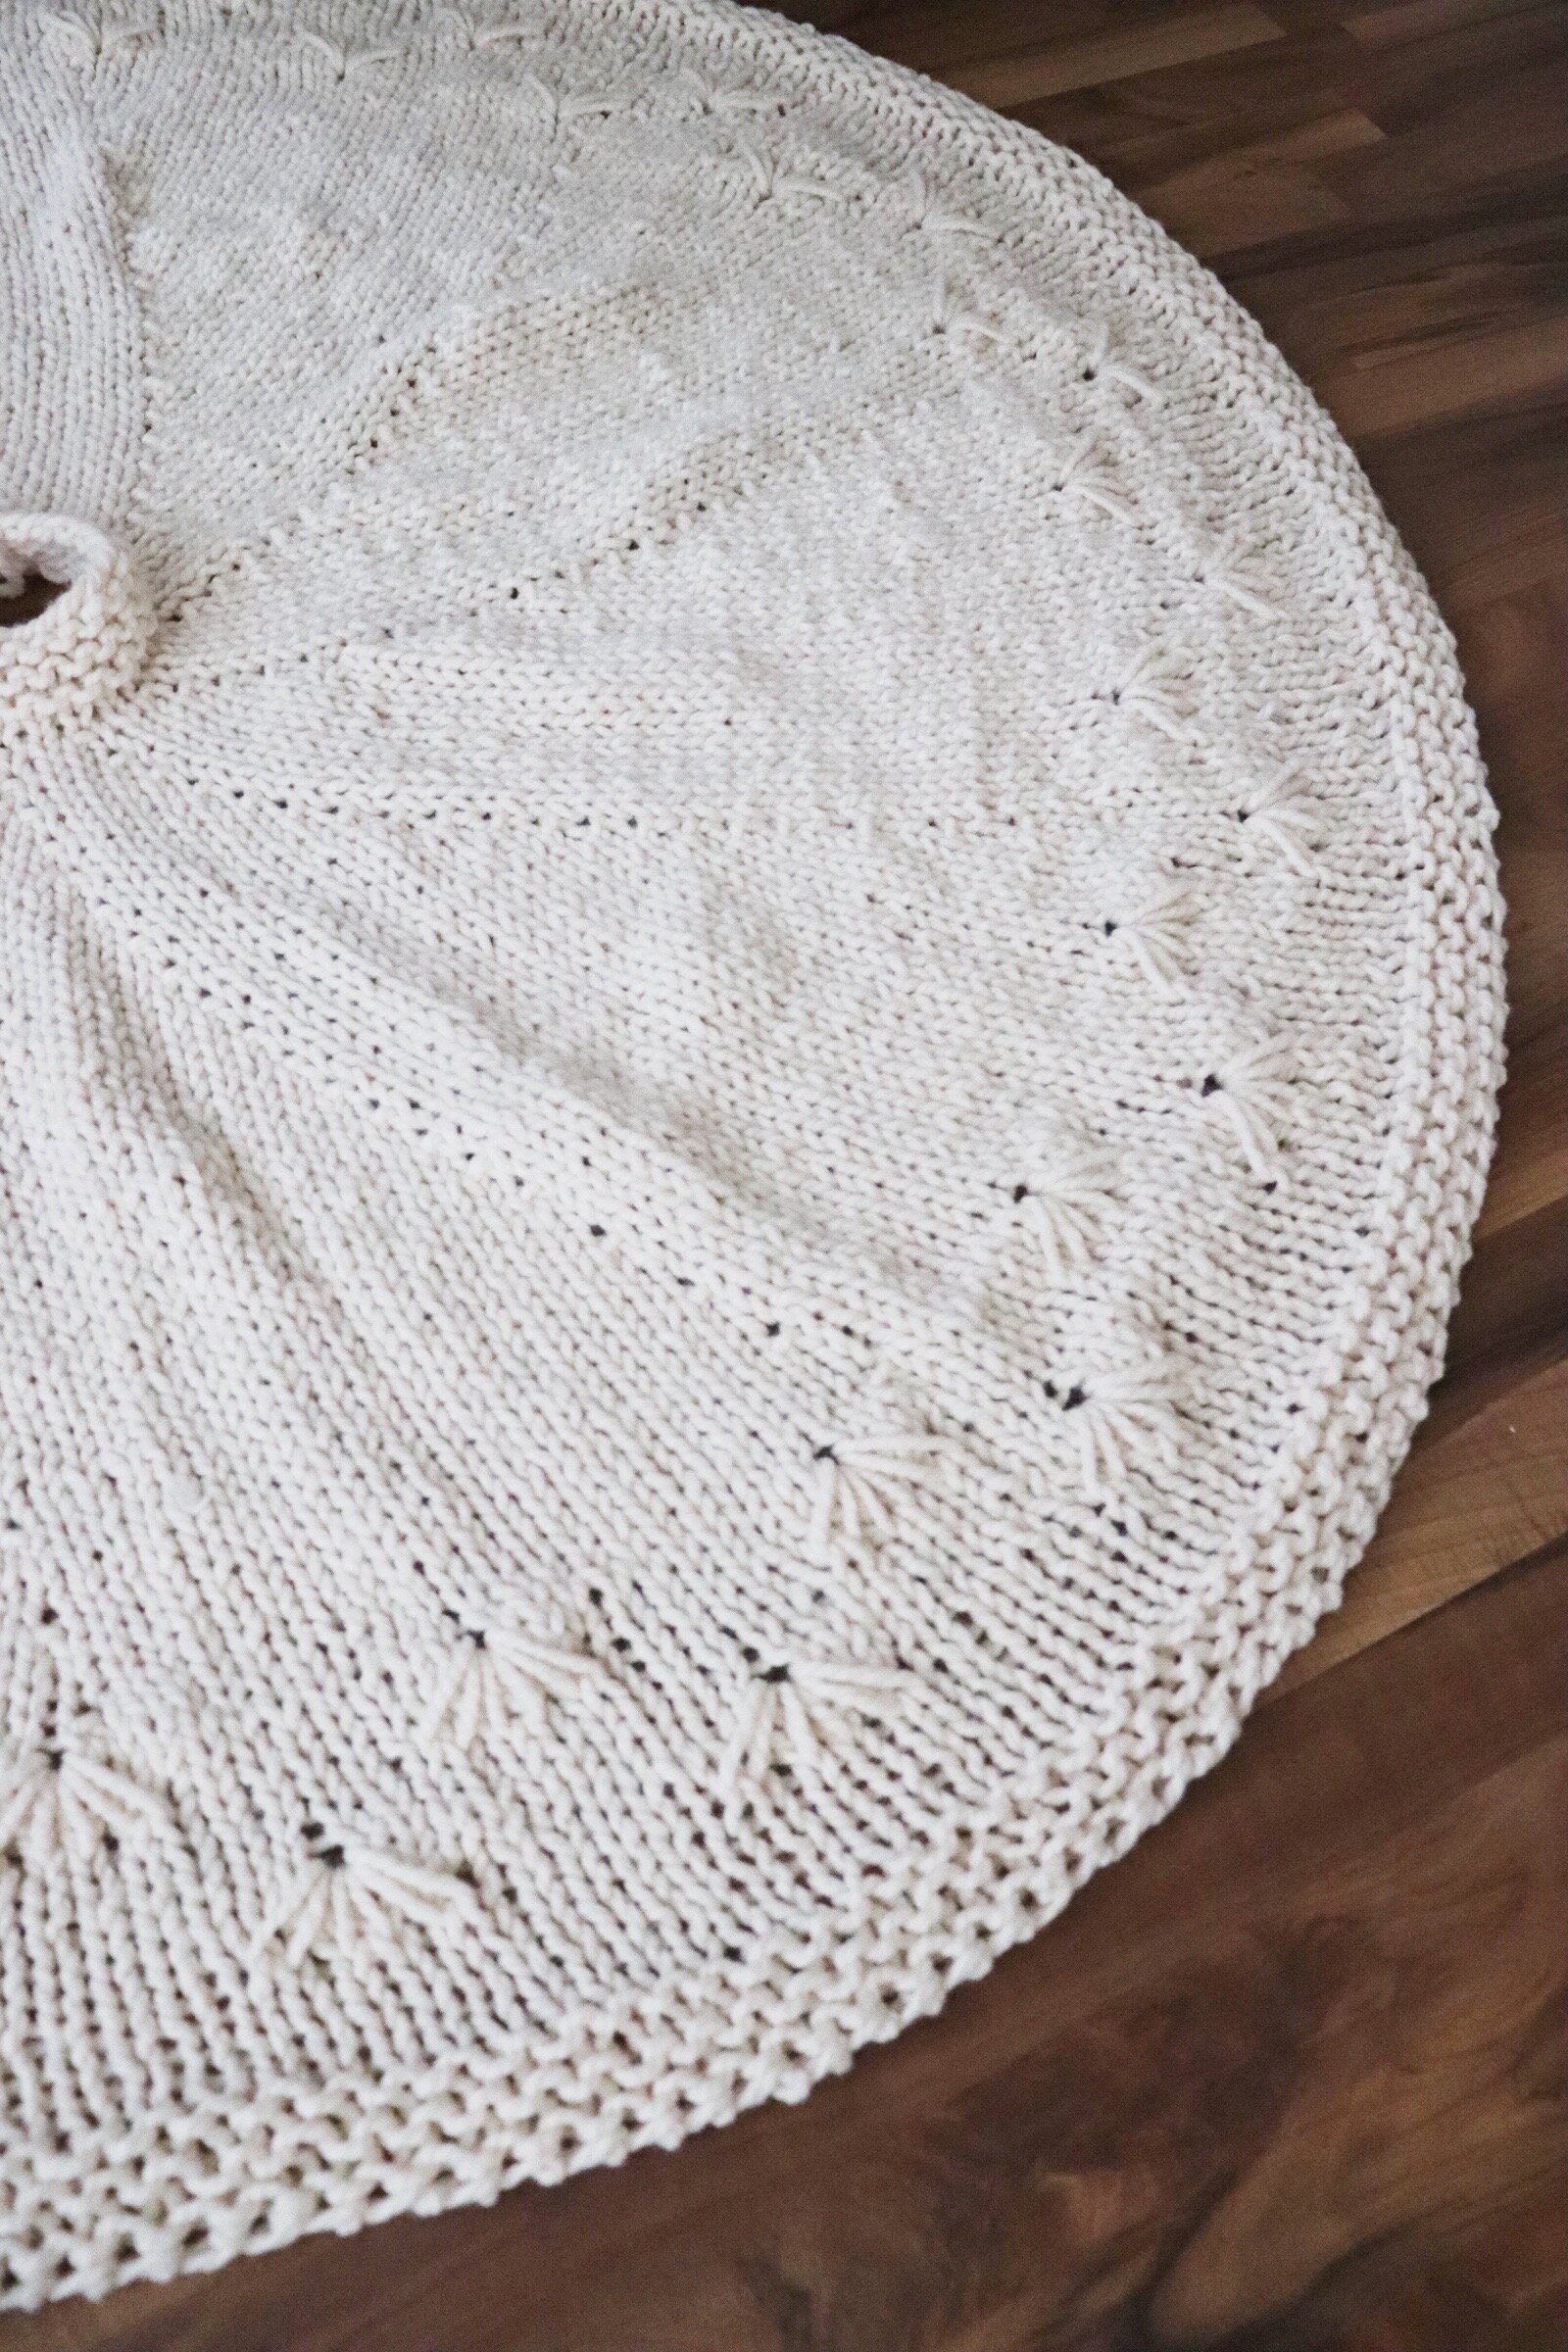
DESCRIPTION
This tree skirt is knit flat on very long circular needles simply to be able to accommodate the amount of stitches. If you find even longer ones, snatch em’ up, because it’ll help in the long run. I wrote this pattern with a 6 foot tree in mind (6 feet wide at the base), but it can be adjusted for any size. Just take a peek at the notes at the bottom to see how!
Note: The number in brackets at the end of the row will be your stitch count.
PATTERN
GARTER STITCH BORDER
On US19/15mm needles cast on 24 sts.
R1: K all sts, turn work
R2-6: Repeat row 1
BODY
R1: K2, *K1, KFB*, Repeat from * to * until the last 2 sts, K2. (34 sts)
R2: K2, P until the last 2 sts, K2
R3: K2, *K2, KFB*, Repeat from * to * until the last 2 sts, K2. (44 sts)
R4: K2, P until the last 2 sts, K2
R5: K2, *K3, KFB*, Repeat from * to * until the last 2 sts, K2. (54 sts)
R6: K2, P until the last 2 sts, K2
R7: K2, *K4, KFB*, Repeat from * to * until the last 2 sts, K2. (64 sts)
R8: K2, P until the last 2 sts, K2
R9: K2, *K5, KFB*, Repeat from * to * until the last 2 sts, K2. (74 sts)
R10: K2, P until the last 2 sts, K2
R11: K2, *K6, KFB*, Repeat from * to * until the last 2 sts, K2. (84 sts)
R12: K2, P until the last 2 sts, K2

R13: K2, *K7, KFB*, Repeat from * to * until the last 2 sts, K2. (94 sts)
R14: K2, P until the last 2 sts, K2
R15: K2, *K8, KFB*, Repeat from * to * until the last 2 sts, K2. (104 sts)
R16: K2, P until the last 2 sts, K2
R17: K2, *K9, KFB*, Repeat from * to * until the last 2 sts, K2. (114 sts)
R18: K2, P until the last 2 sts, K2
R19: K2, *K10, KFB*, Repeat from * to * until the last 2 sts, K2. (124 sts)
R20: K2, P until the last 2 sts, K2
R21: K2, *K11, KFB*, Repeat from * to * until the last 2 sts, K2. (134 sts)
R22: K2, P until the last 2 sts, K2
R23: K2, *K12, KFB*, Repeat from * to * until the last 2 sts, K2. (144 sts)
R24: K2, P until the last 2 sts, K2
R25: K2, *K13, KFB*, Repeat from * to * until the last 2 sts, K2. (154 sts)
R26: K2, P until the last 2 sts, K2
R27: K2, *K14, KFB*, Repeat from * to * until the last 2 sts, K2. (164 sts)
R28: K2, P until the last 2 sts, K2
R29: K2, *K15, KFB*, Repeat from * to * until the last 2 sts, K2. (174 sts)
R30: K2, P until the last 2 sts, K2
R31: K2, *K16, KFB*, Repeat from * to * until the last 2 sts, K2. (184 sts)
R32: K2, P until the last 2 sts, K2
R33: K all sts
R34: K2, P until the last 2 sts, K2
R35: K2, *K17, KFB*, Repeat from * to * until the last 2 sts, K2. (194 sts)
R36: K2, P until the last 2 sts, K2
R37: K all sts
R38: K2, P until the last 2 sts, K2
R39: K2, *K18, KFB*, Repeat from * to * until the last 2 sts, K2. (204 sts)
R40: K2, P until the last 2 sts, K2
R41: K all sts
R42: K2, P until the last 2 sts, K2
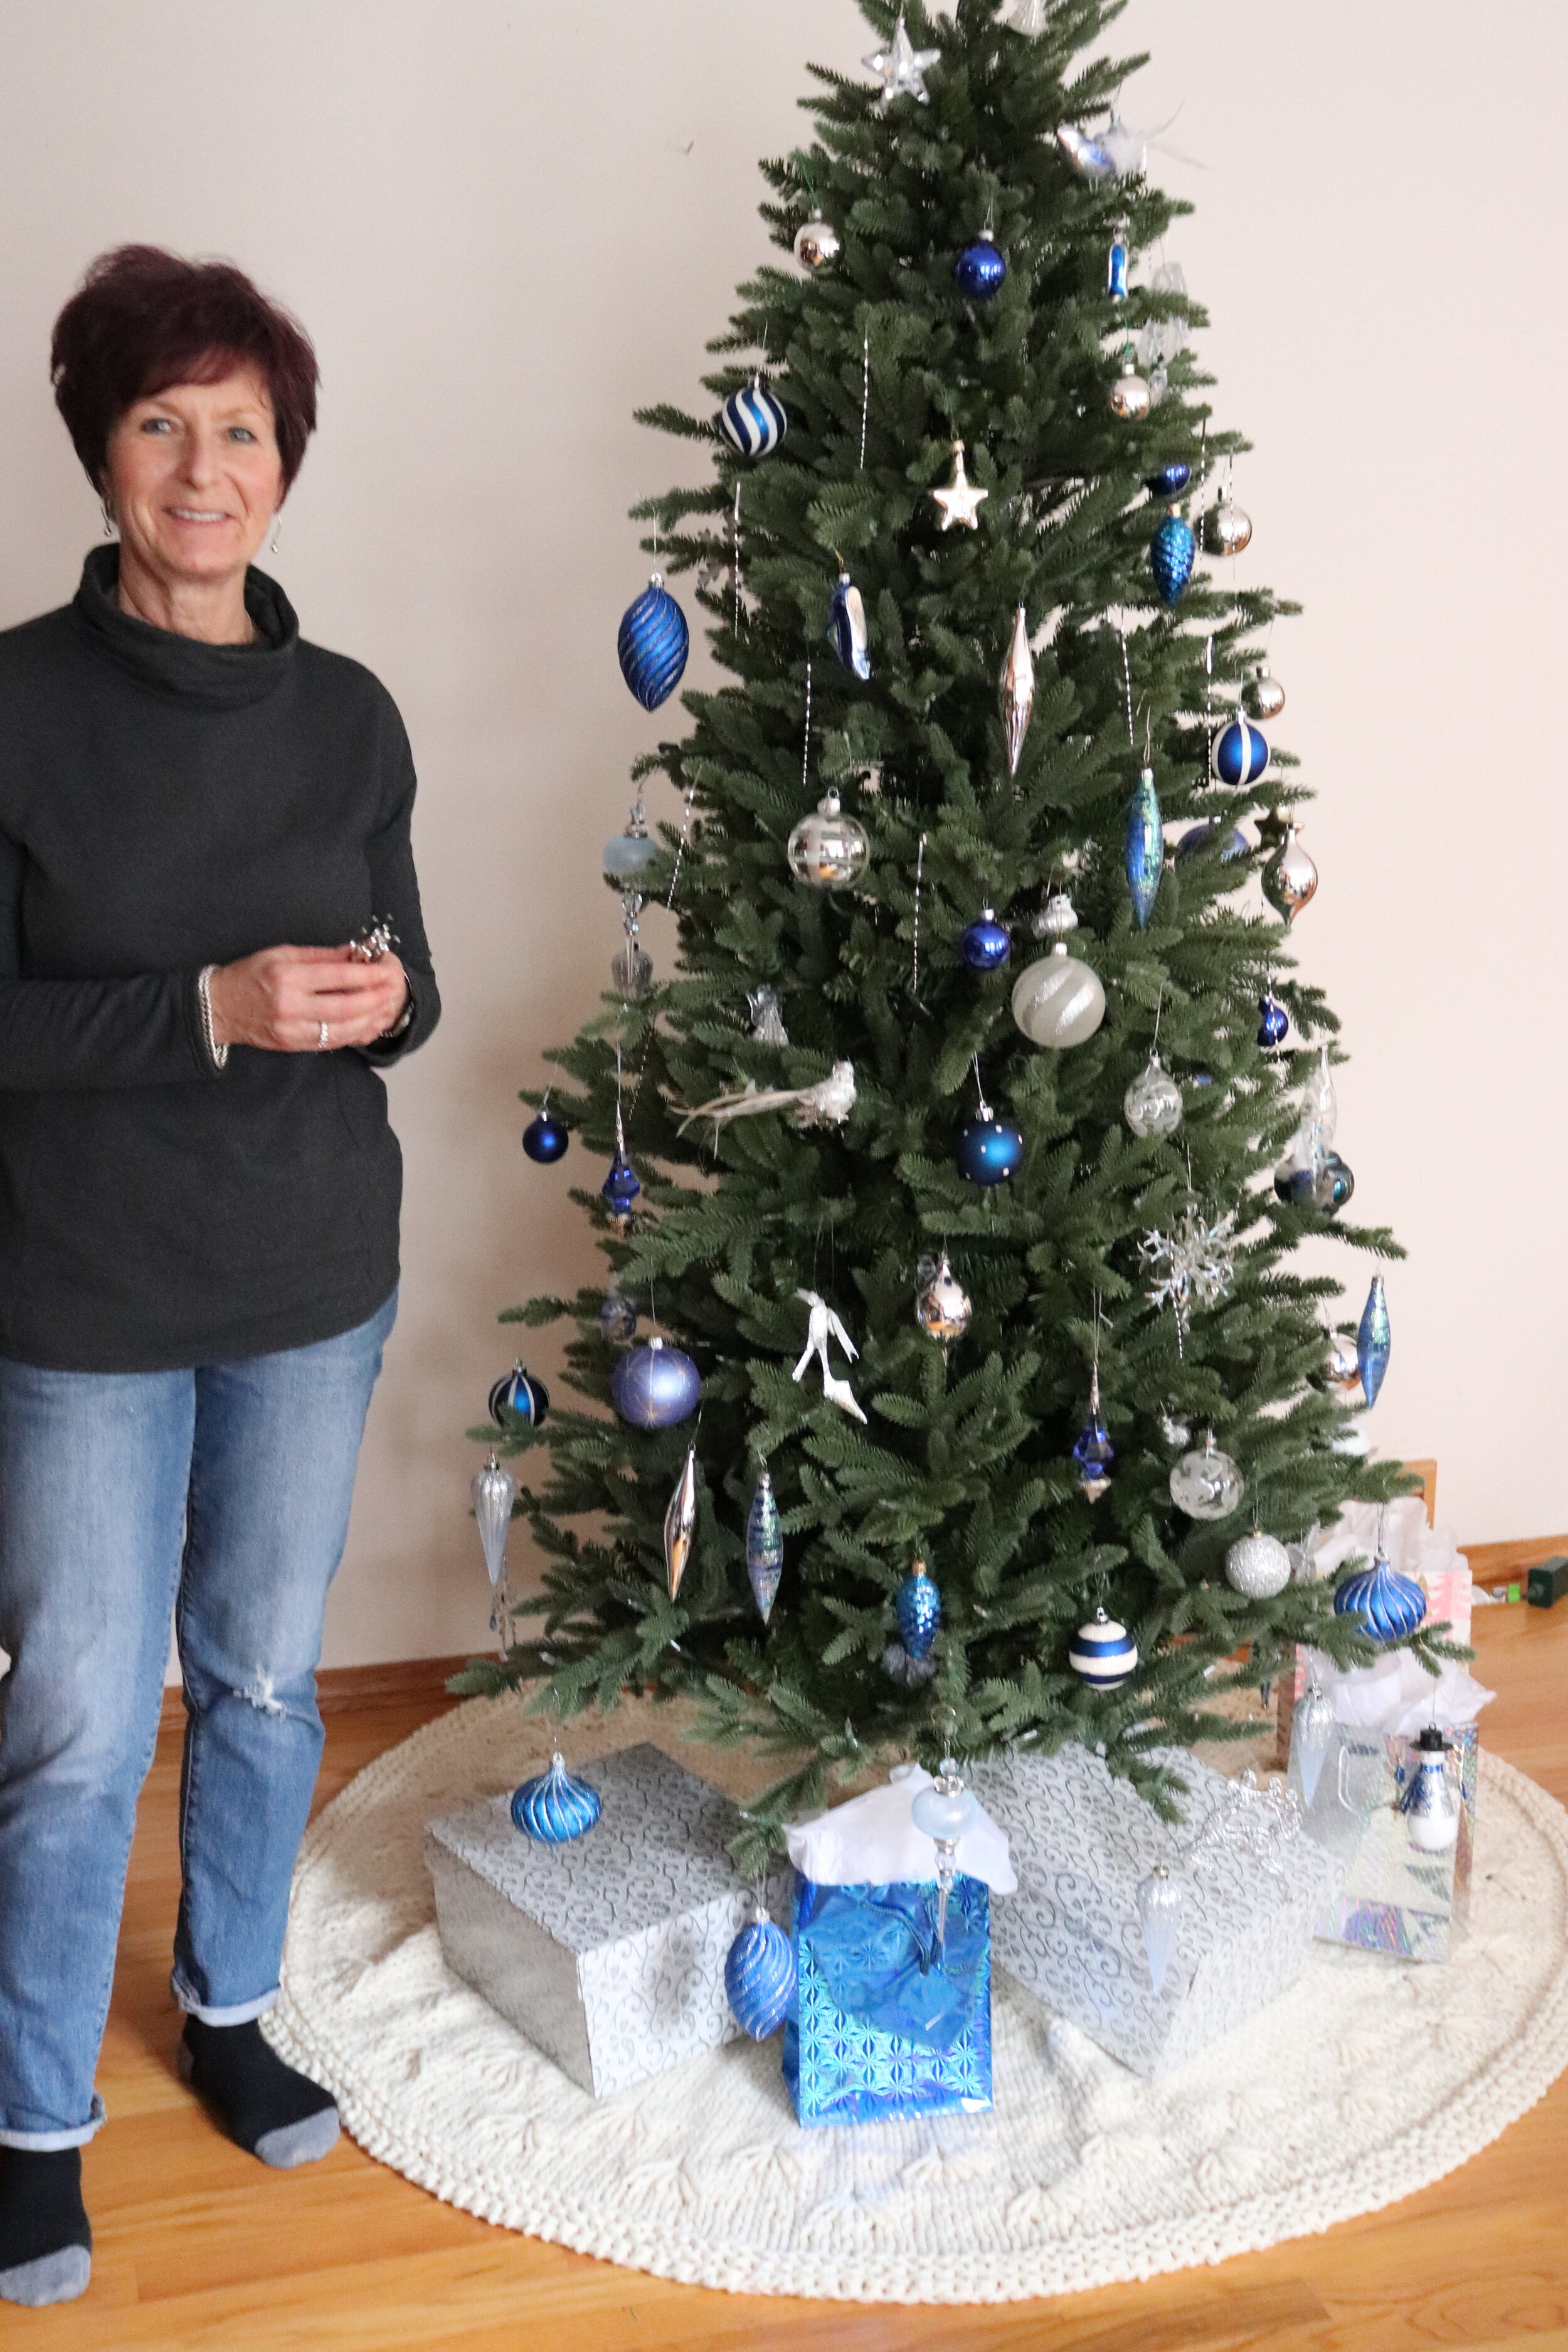
(PS How cute is my mom in this photo?!)
R43: K2, *K19, KFB*, Repeat from * to * until the last 2 sts, K2. (214 sts)
R44: K2, P until the last 2 sts, K2
R45: K all sts
R46: K2, P until the last 2 sts, K2
R47: K2, *K20, KFB*, Repeat from * to * until the last 2 sts, K2. (224 sts)
R48: K2, P until the last 2 sts, K2
R49: K2, K2tog, K until the last 4 sts, K2tog, K2. (222 sts)
R50: K2, P until the last 2 sts, K2
STARTING THE FLOWER STITCH
Starting on a RS
R1: K4, daisy stitch, *K6, daisy*, Repeat from * until the last 4 sts, K4
R2: K2, P2, *[P2tog, P1] twice, P2tog, P5*, Repeat from * until the last 11 sts, [P2tog, P1] twice, P2tog, P1, K2
R3: K all sts
R4: K2, P until the last 2 sts, K2
R5: K all sts
R6: K2, P until the last 2 sts, K2
R7: K9, *daisy, K6*, Repeat from * until the last 3 sts, K3
R8: K2, P2, *P5, [P2tog, P1] twice, P2tog*, Repeat from * until the last 8 sts, P6, K2
R9: K all sts
R10: K2, P until the last 2 sts, K2
R11: K all sts
R12: K2, P until the last 2 sts, K2
R13-18: K all sts
R19: Using “Jenny’s super stretchy bind off” loosely BO all sts
FINISHING YOUR PIECE
Now weave in your ends, place it at the base of your tree, load up the presents and do a happy dance! You have finished you’re #SnowbellHolidayTreeSkirt
NOTES
This tree skirt can be made in multiple sizes. I’ve given a few tips on how to do this below. Do please note that Lion Brand Thick N’ Quick comes in different yardages for solids, stripes and sparkles. I used “Fisherman” which is a solid, and it has 106 yrds per ball.
POLICIES
This pattern is a copyright of Chantal Miyagishima of Knitatude. Snowbell Tree Skirts created using this pattern may be sold in small quantities (less than 10 total) with written consent first given by Chantal Miyagishima of Knitatude. Credit must be given to Knitatude / knitatude.etsy.com. Pattern and photos can not be used for resale purposes. Please share your work with the hashtag #SnowbellTreeSkirt and #knitatudeknits to share the handmade love!
Want to manipulate this pattern to fit your tree?
The main thing that you need to know is that in order to do the snowflake/flower stitch at the bottom, you need multiples of 10 + 8 sts. Not including the 2 garter stitch borders at the front and end of your row. First measure the base of your tree. You will be knitting rows until you reach the radius of the bottom branches.
Making the skirt smaller or bigger:
Stop working the increases when you’re 10 inches away from the radius you would like – whether that is bigger or smaller. Once there, work rows 49+50 in this pattern. This should ensure you have a multiple of 10 + 8. Be sure to count the 4 additional garter stitch border stitches on TOP of this number. Work the rest of the pattern as written.
If you have any questions, please feel free to send me an email at knitatude@gmail.com, or hit me up on social media at:
Instagram - @knitatude
Facebook – www.facebook.com/knitatude
Etsy – knitatude.etsy.com
Please share your work with the hashtag #SnowbellTreeSkirt and #knitatudeknits to share the handmade love!