PIN IT NOW, SAVE IT FOR LATER
THE PIN ME UP HEADBAND
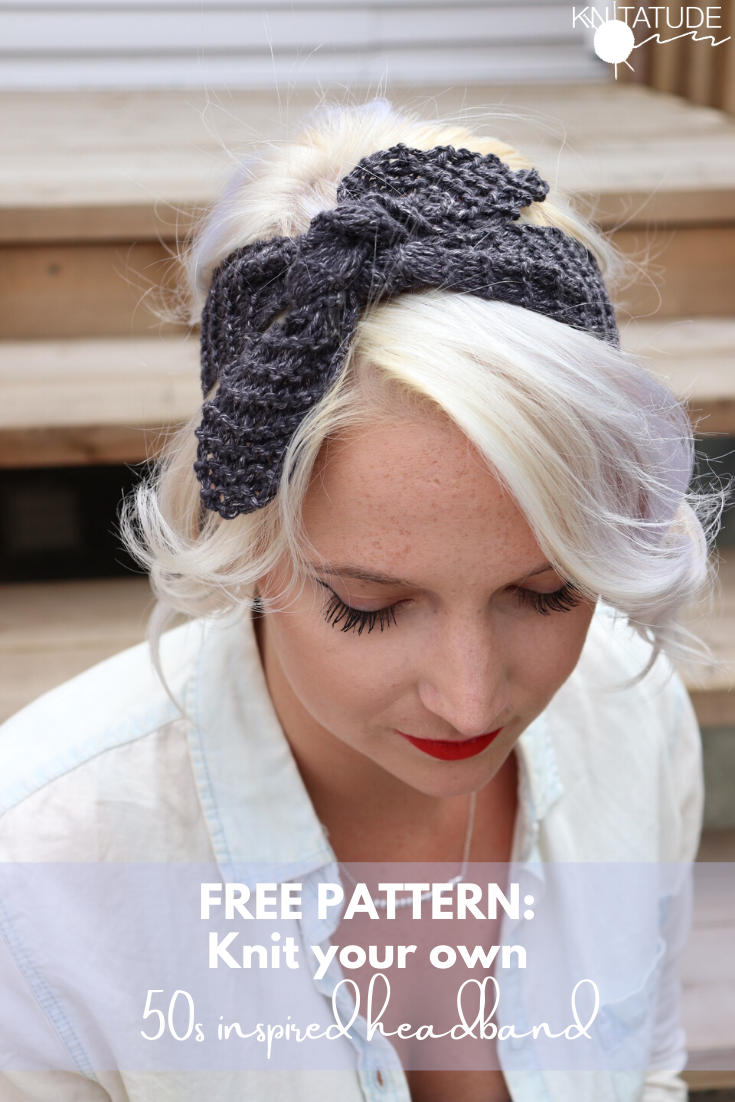
Need to get rid of scrap or left over yarn? Feeling your inner 50’s pinup girl vibe and looking for a quick make? This 50s inspire headband only uses 20 grams of yarn (I actually used 17 grams of Lion Brand LB Collection Jeans Cotton, leftover from my Easy Eyelet Yoke Dress pattern), and US8/5mm needles. Quick to whip up, and super cute to boot, you’ll be making multiple of these in no time.
I was watching my insta stories the other day, and my girlfriend Raemie from Biz Knits was wearing the cutest little cloth headband. I had nothing to knit (as I’m between wips), and thought; why the heck not. So I whipped this bad boy out, and felt my inner 50s pin-up doll style come out.
MATERIALS:
40-45 yards of any size 4 worsted yarn
US 8/5mm needles
Darning needle
Scissors
GAUGE
On US8/5mm needles in garter stitch flat
9 sts x 11 rows = 2” x 2”
DIMENSIONS
Width: 2.25”/5.7cm
Length: 28”/71cm

GLOSSARY
CO = Cast on
KFB = Knit front back (1 stitch increase)
K = Knit
STS = Stitches
K2tog = Knit 2 together (1 stitch decrease)
BO = Bind off
THE PATTERN
On US 8/5mm needles CO 3 sts
R1: KFB, K1, KFB (5 sts)
R2: K all sts
R3: K1, KFB, K1, KFB, K1 (7 sts)
R4: K all sts
R5: K1, KFB, K until the last 2 sts, KFB, K1 (9 sts)
R6: K all sts
R7: K1, KFB, K until the last 2 sts, KFB, K1 (11 sts)
R8: K all sts

K all rows until your piece measures 24 inches from the cast on edge, or fits around your head from the nape of your neck, to the top of your crown with a little bit of stretch and + 2 inches.
R9: K1, K2tog, K until the last 3 sts, K2tog, K1 (9 sts)
R10: K all sts
R11: K1, K2tog, K until the last 3 sts, K2tog, K1 (7 sts)
R12: K all sts
R13: K1, K2tog, K until the last 3 sts, K2tog, K1 (5 sts)
R14: K all sts
R15: K2tog, K1, K2tog (3 sts)
R16: BO all sts
FINISHING YOUR PIECE
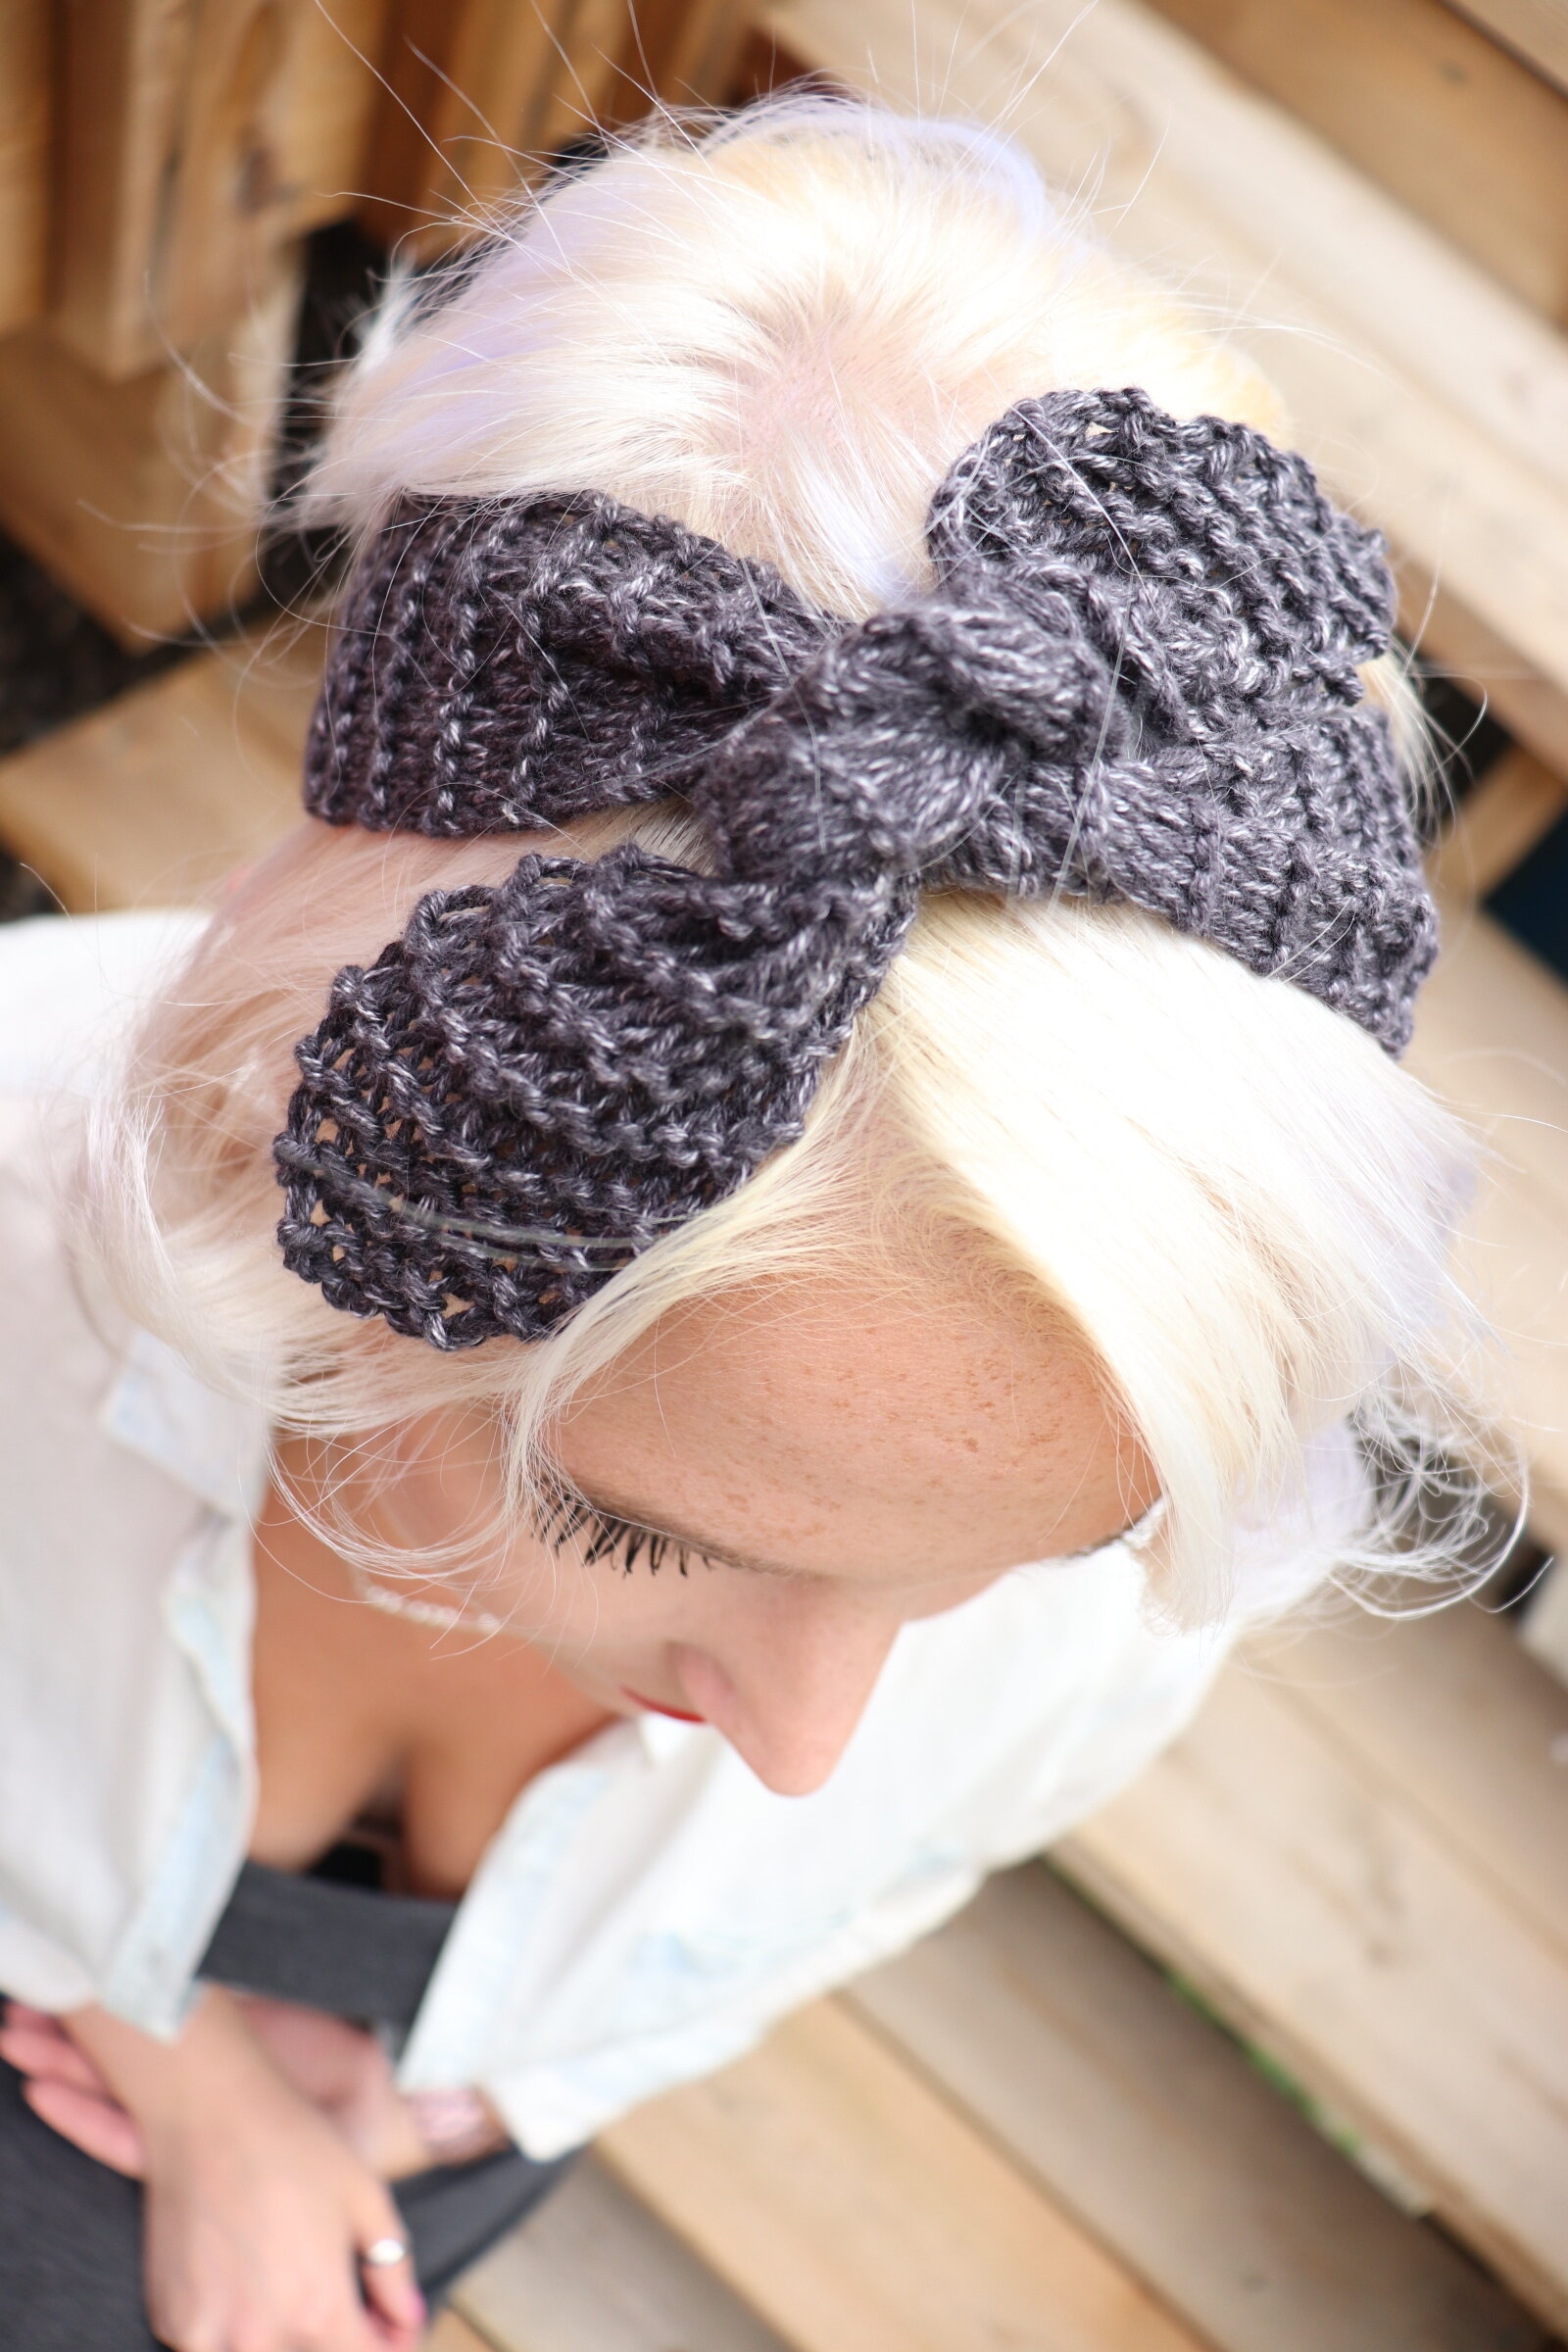
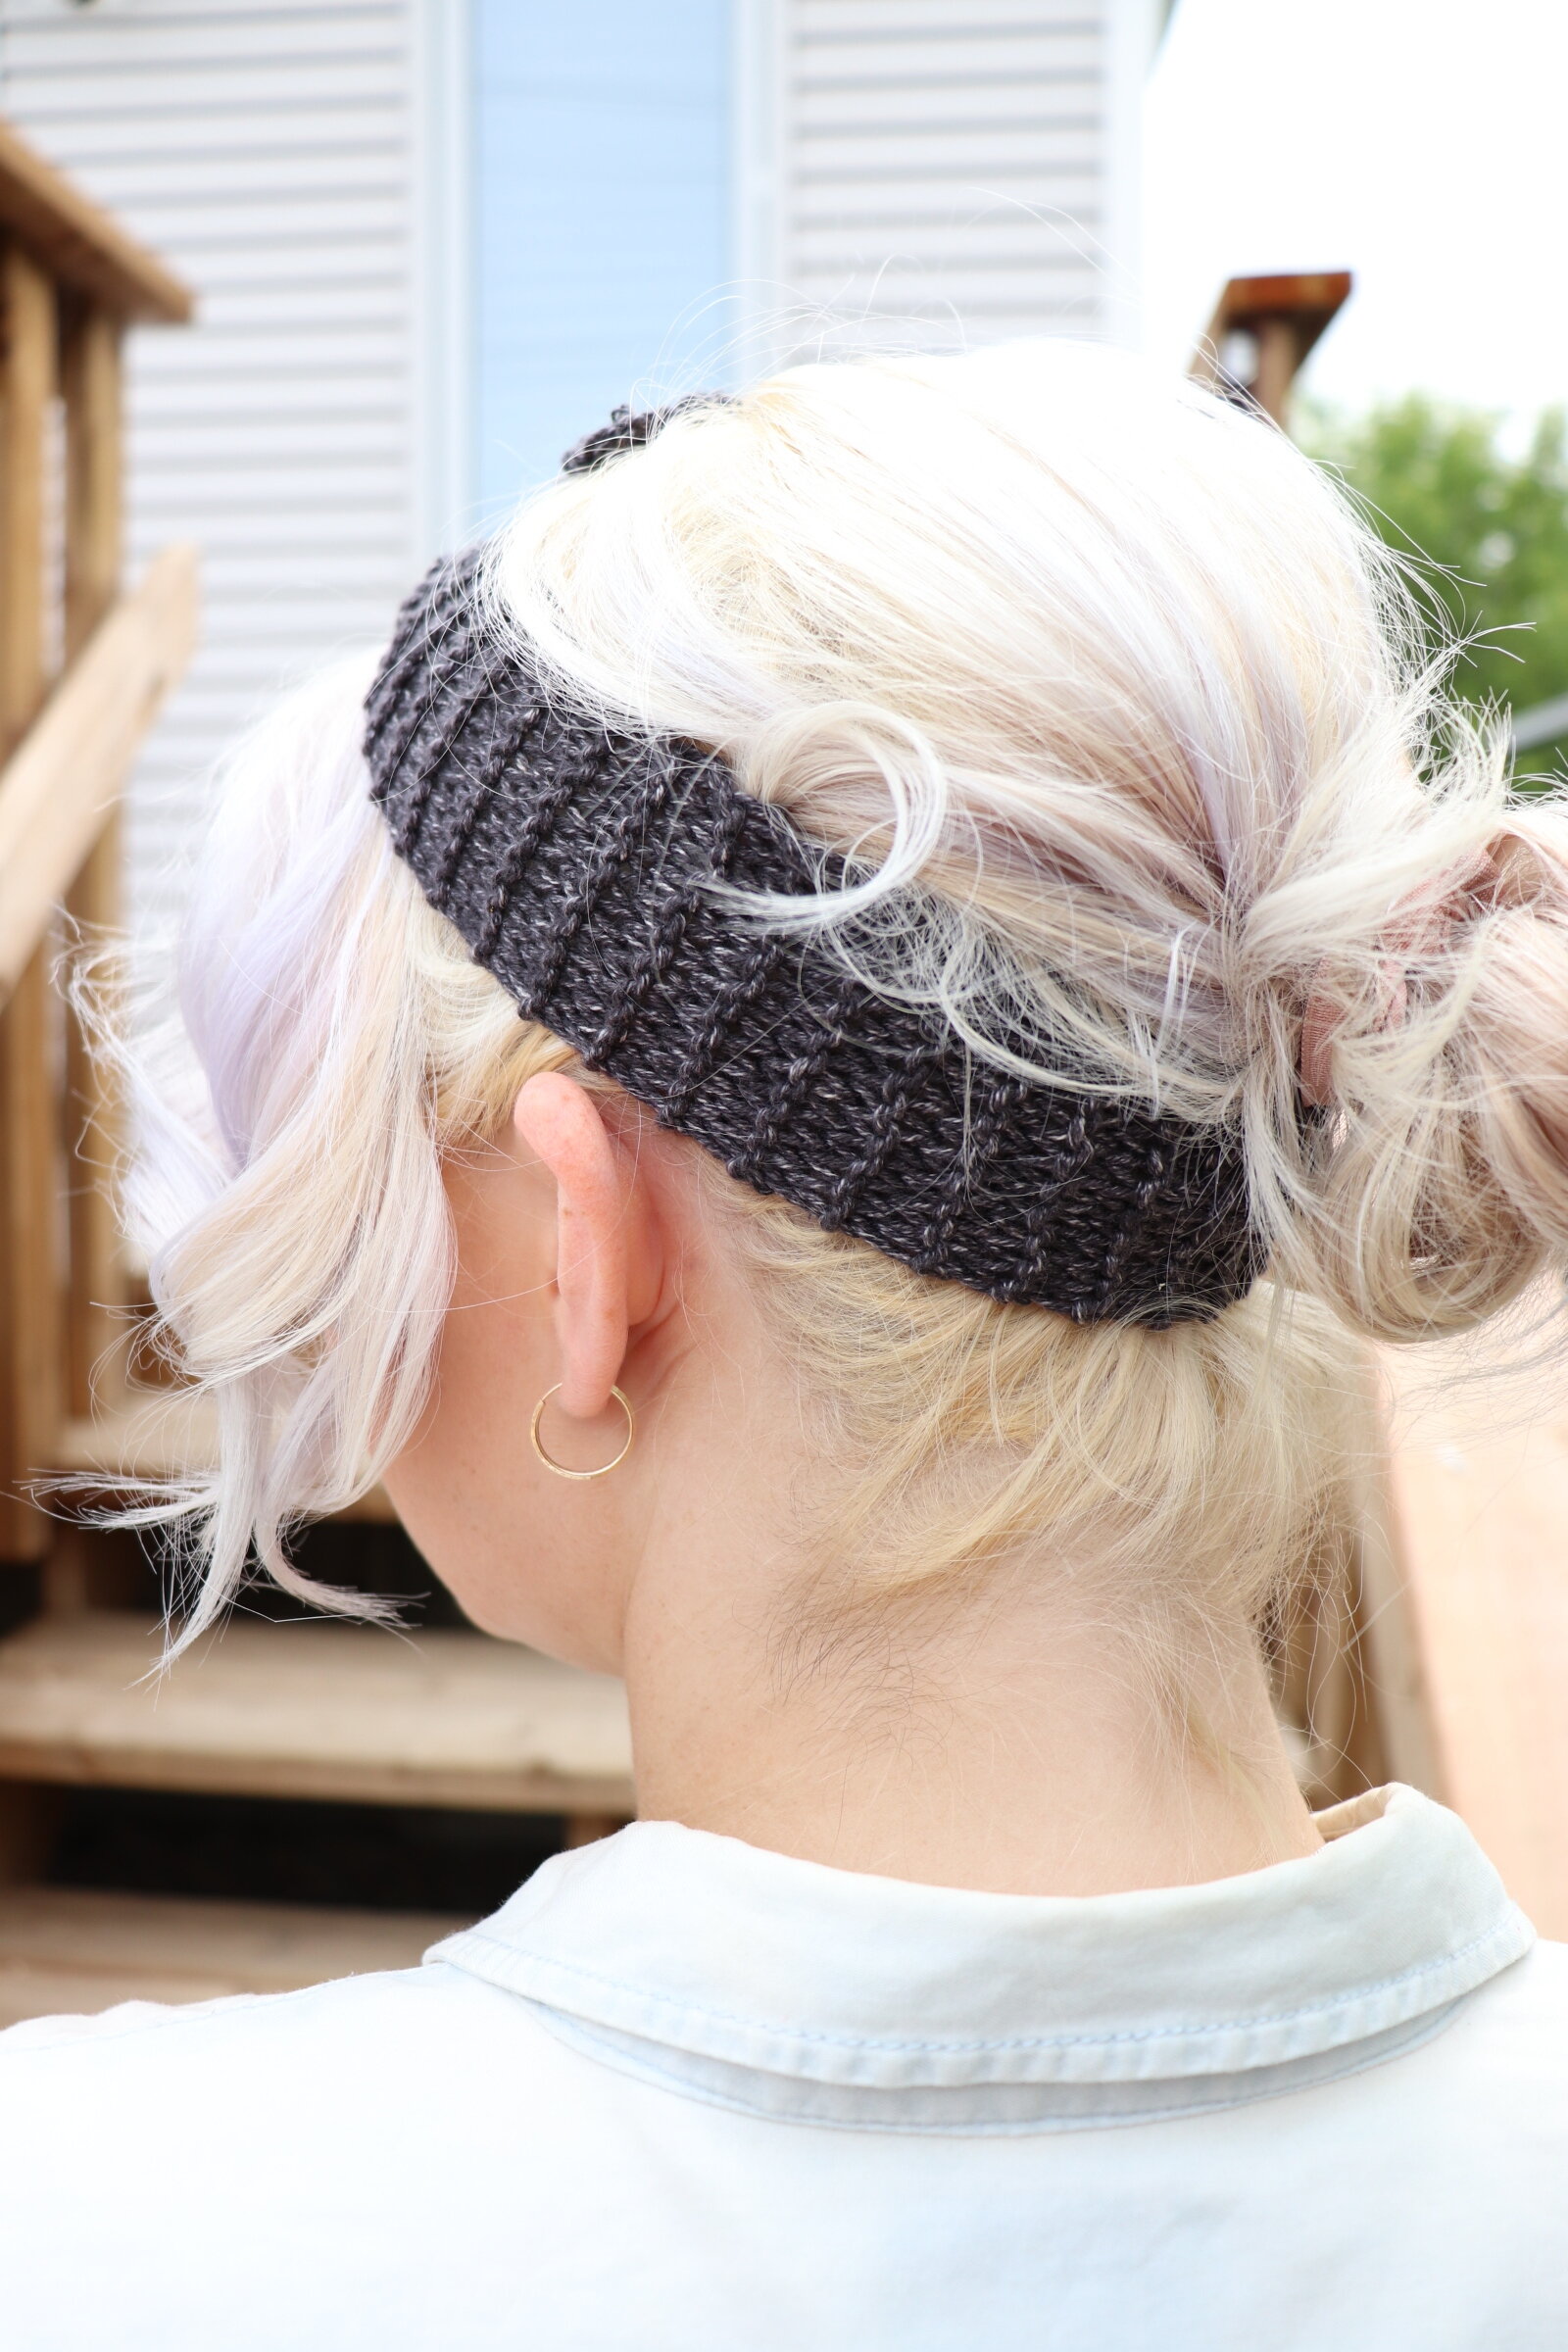
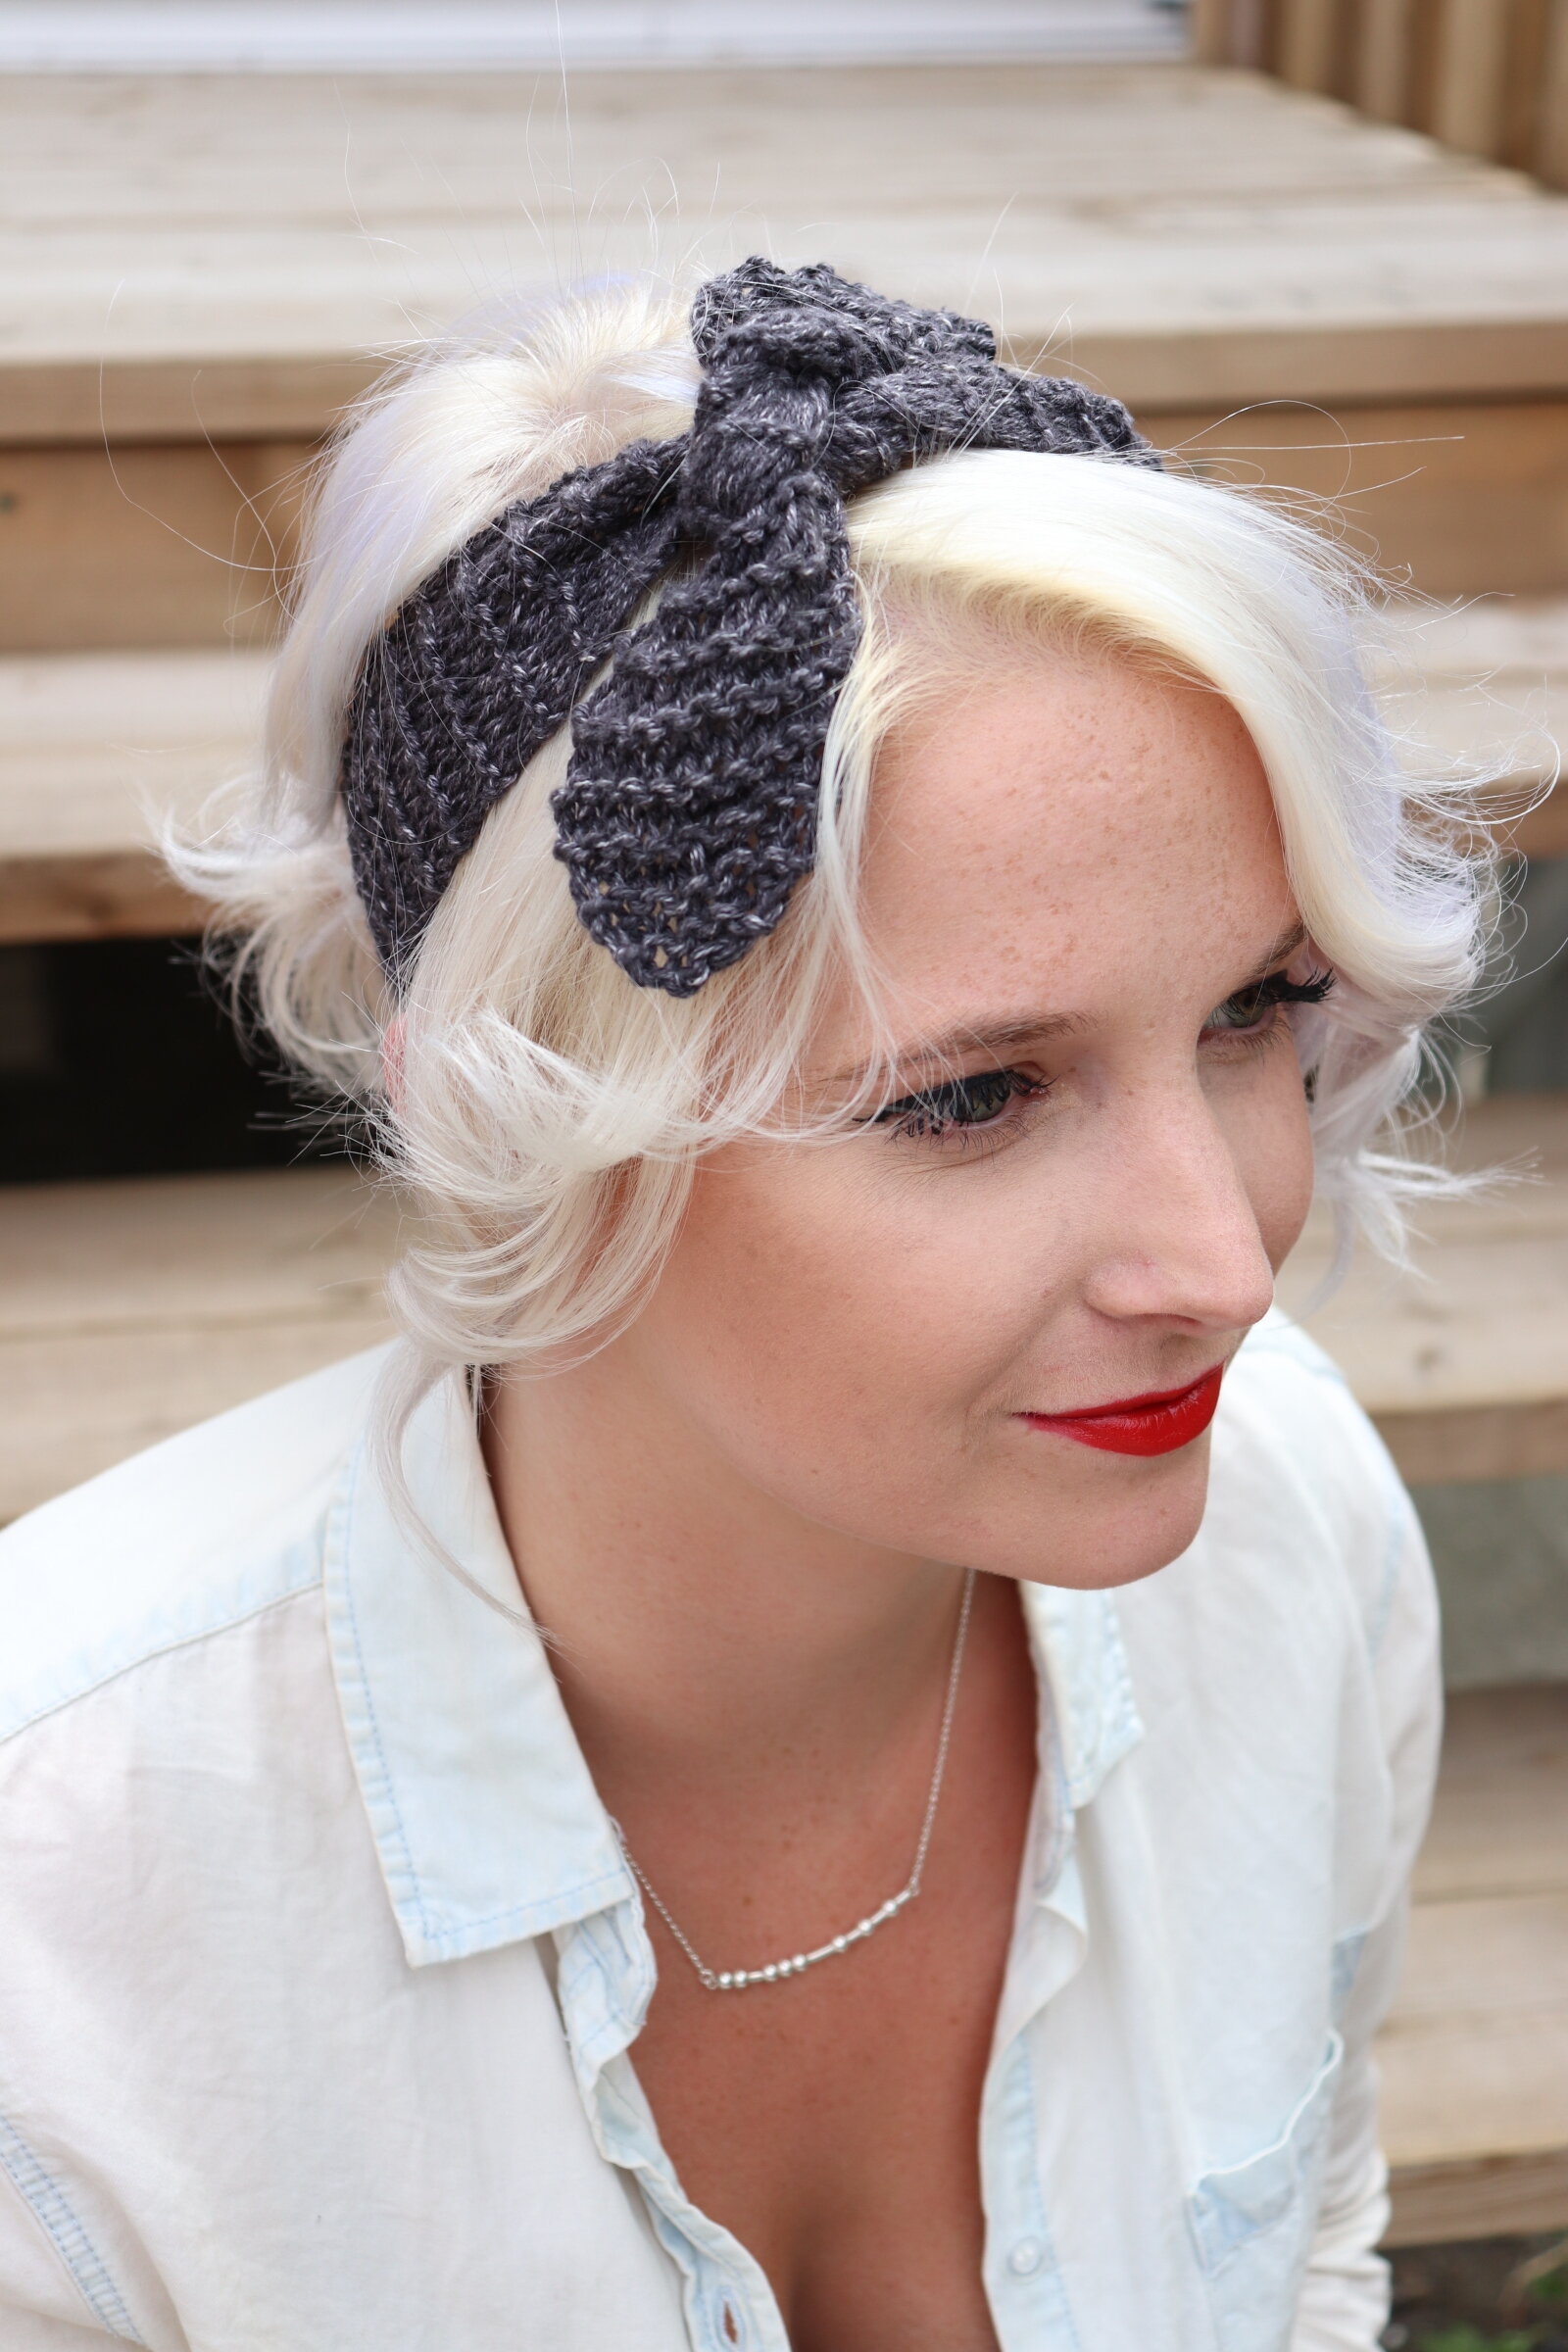
Cut working yarn and weave in ends. Now place it at the nape of your neck and bring the two open ends to your crown. Tie in a single or double knot. You’re done your #PinMeUpHeadband. Now snap a selfie, upload it to instagram and give Knitatude a tag!

NOTES
Should you like, you are welcome to add more length in case you want the ties to be a bit longer. Note that I have a smaller head circumference compared to the average noggin’ so you may want to knit a bit longer. As always, I suggest trying it on as you go. Note: the yarn will stretch with wear, so take that into consideration as well. If you want it to be wider, just continue the increase section until it’s your preferred width. Just know that you will have to decrease those additional stitches when you get to the other side.
POLICIES
This pattern is a copyright of Chantal Miyagishima of Knitatude. Pin Me Up Headbands created using this pattern may be sold with credit given to Knitatude / knitatude.etsy.com. Pattern and photos cannot be used for resale purposes.
Please share your work with the hashtag #PinMeUpHeadband #knitatudeknits to share the handmade love!